Shopmade screw blocks
Even the smallest details on Tom Throop's trestle table work in harmony with the overall design.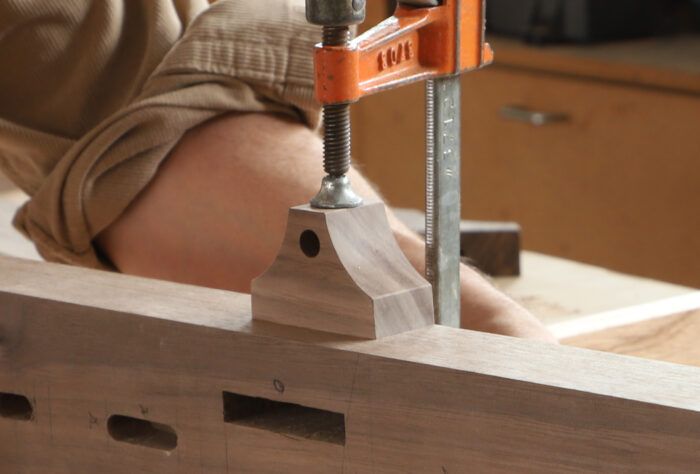
“It’s the details that help define a piece.” I recall this being said early on when I was learning to design and make furniture at Parnham College in Dorset, England. I have kept that notion close, and these screw blocks are a nice example of where it can lead—even if the particular details in question are unlikely to be seen except by the most curious.
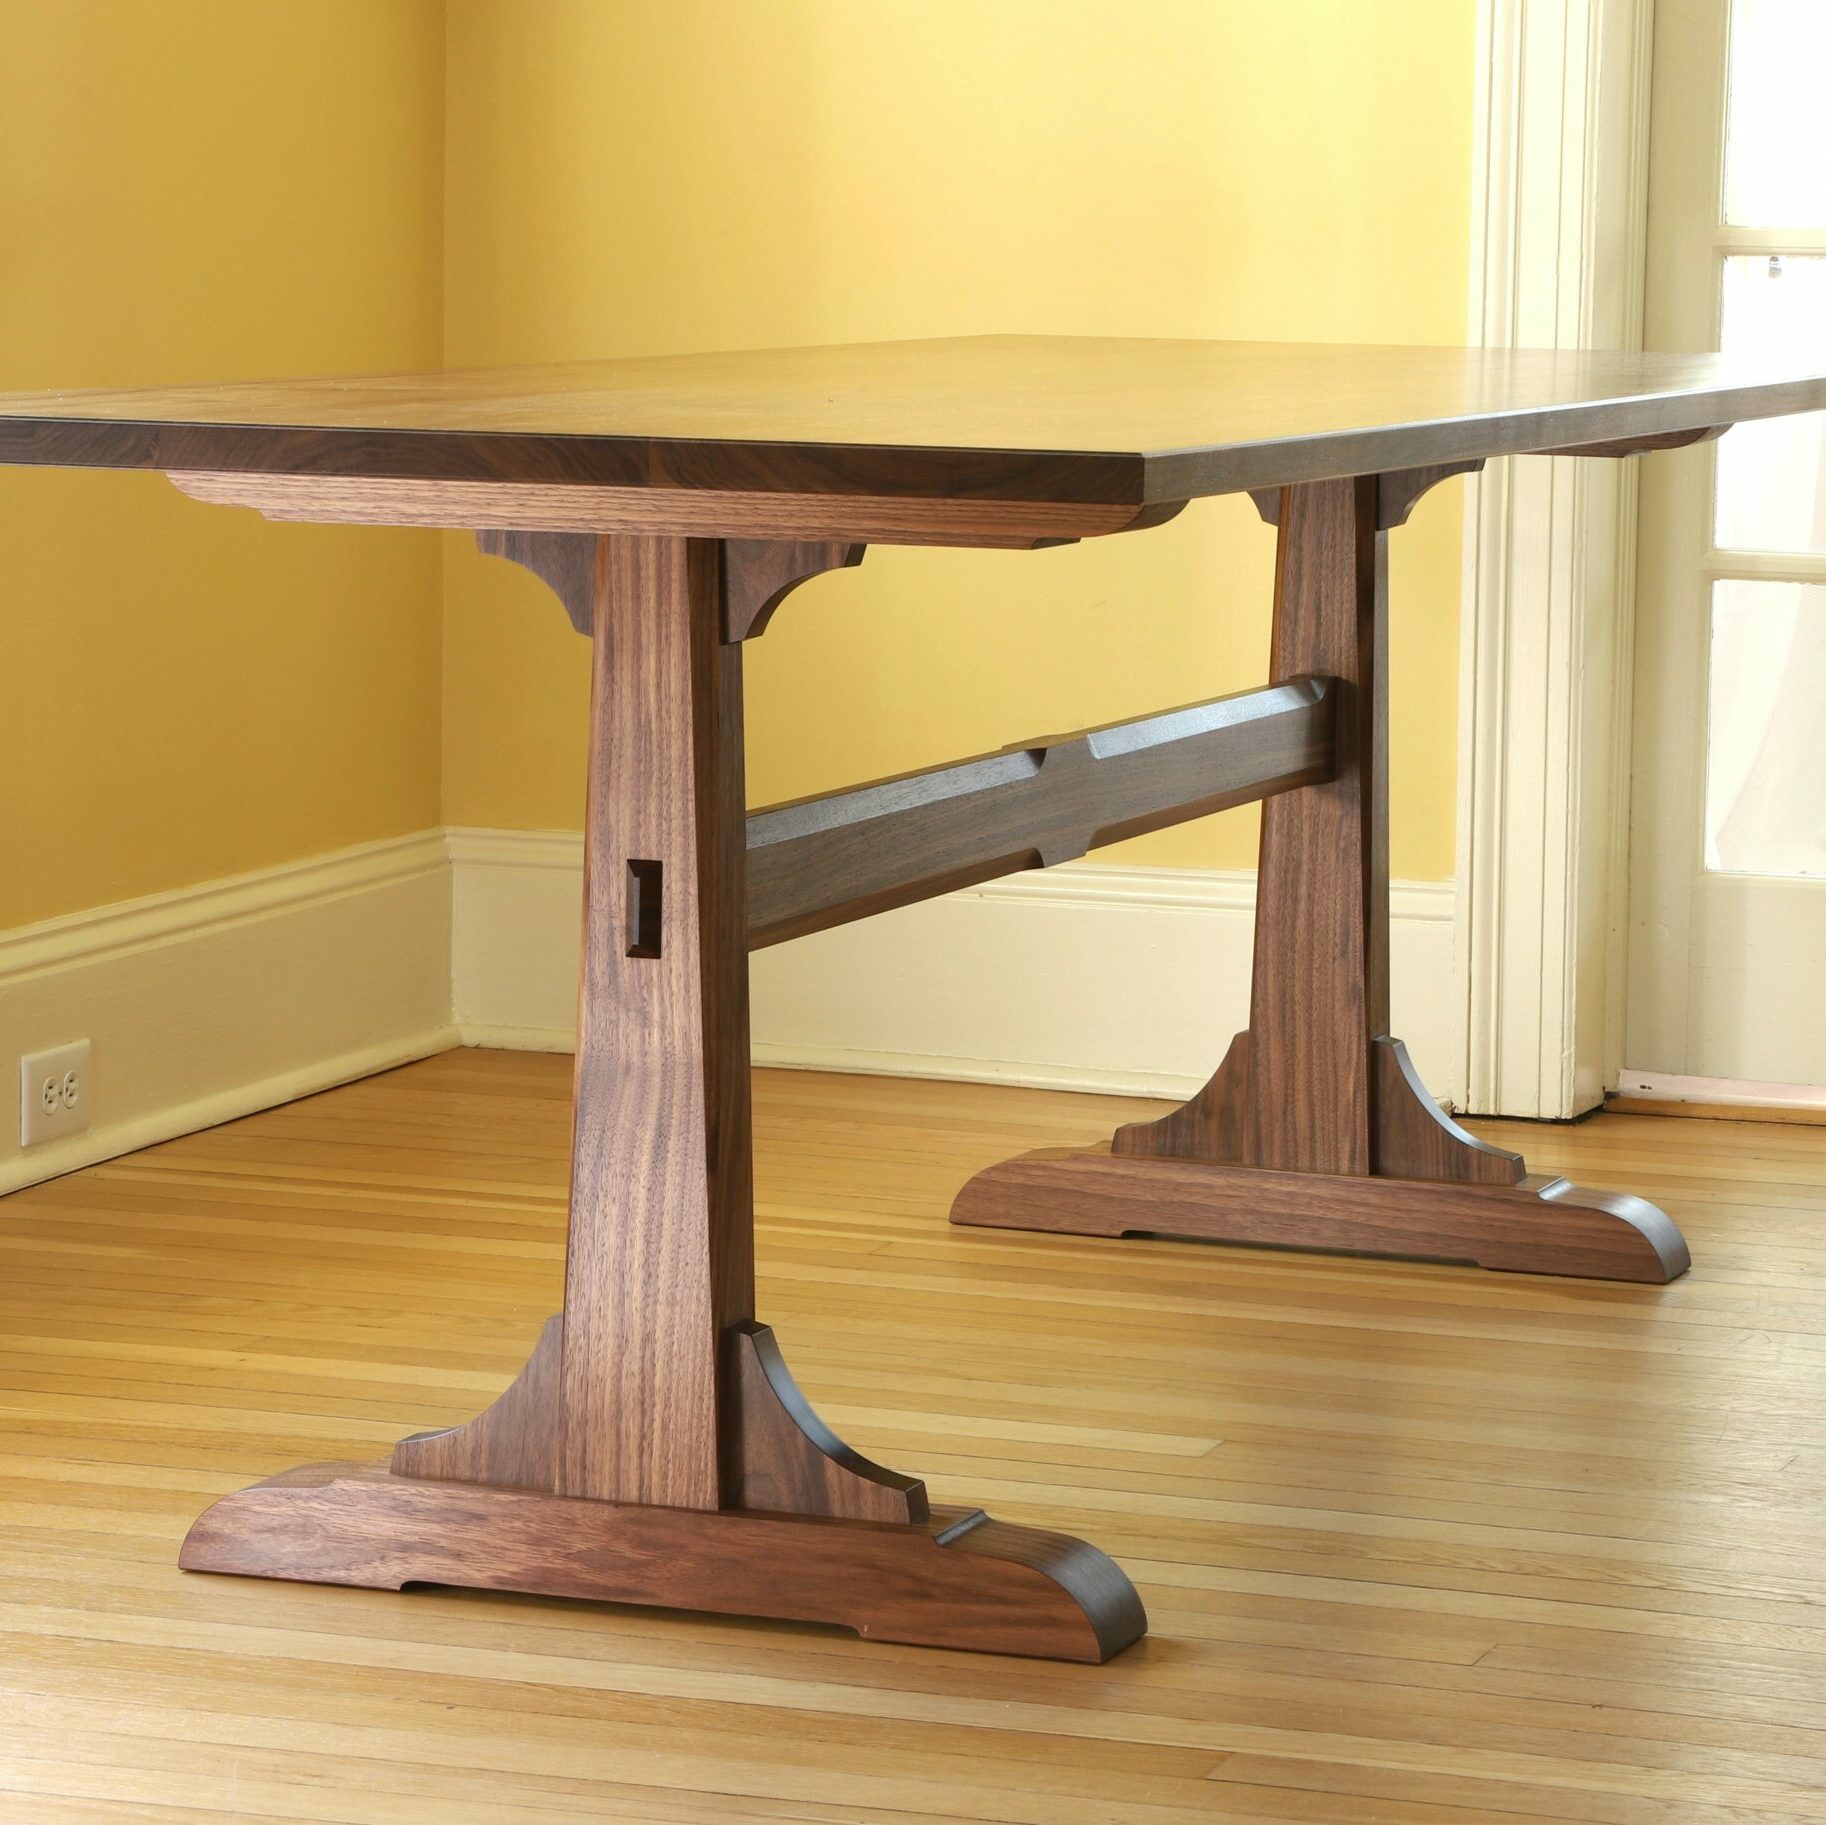
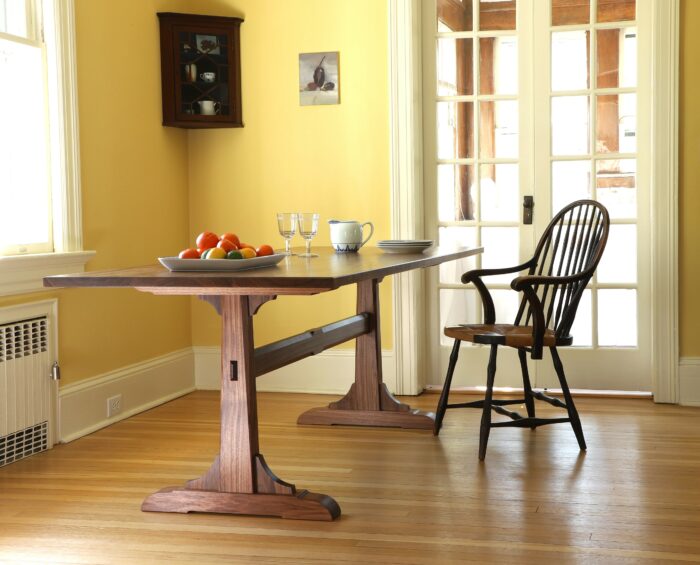
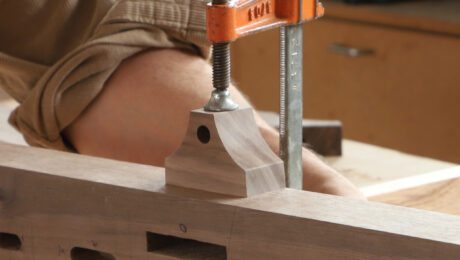
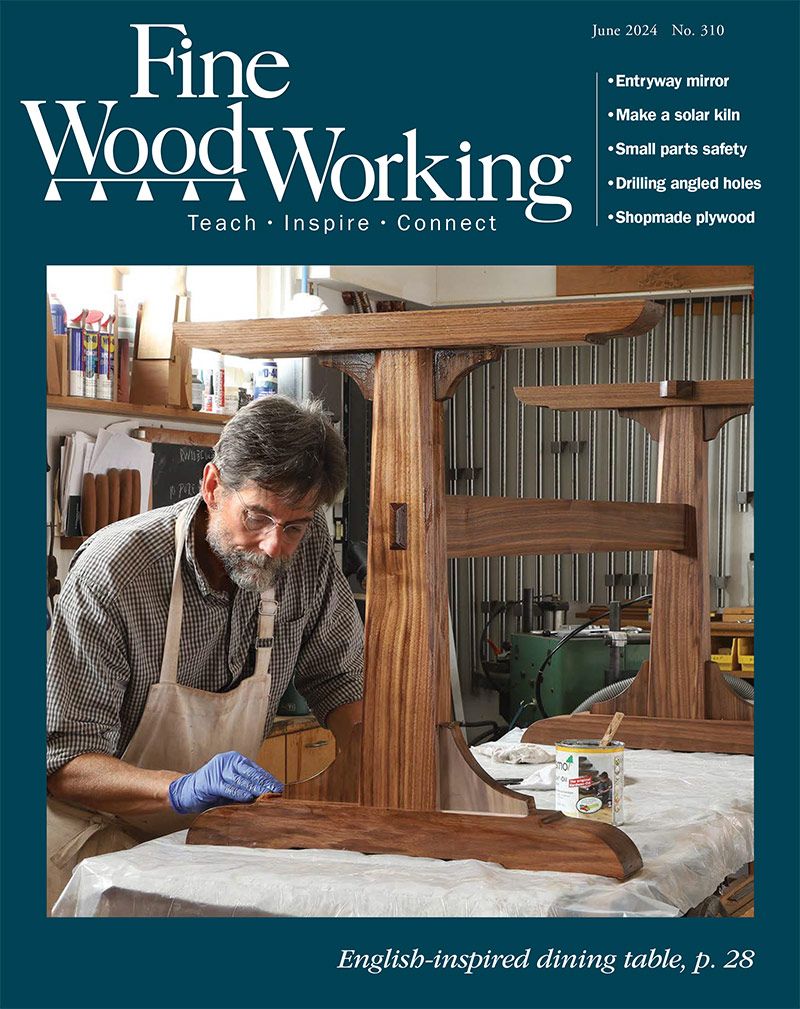
When I made these blocks to attach the solid-wood top to a dining table (“English-Inspired Trestle Table,” FWW #310) I was aiming for the blocks’ shape to be in sympathy with the design of the corbels that act to stiffen the connection of the foot and the brace to the trestle’s post. It’s an example of echoing the overall design even in the smallest of ways.
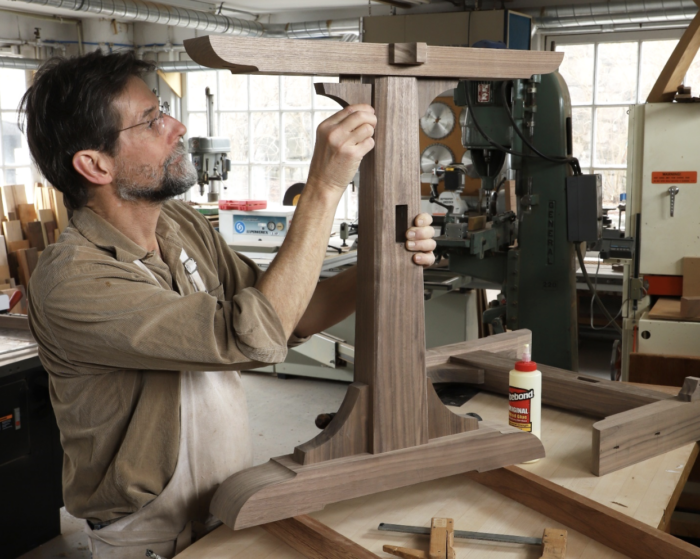
On a trestle table, my preferred method for attaching the base to the top is to use screws through elongated slots in the top rails, or braces, so the solid top can expand and contract unhindered. Using a plunge router or a slot mortiser, I’ll use a cutter with a radius slightly larger than the head of the screw to cut the counterbore—a recessed shelf for the screw head to slide on. And then I switch to a smaller radius cutter to plunge through the remaining thickness of the brace to create the clearance slot for the shaft of the screw.
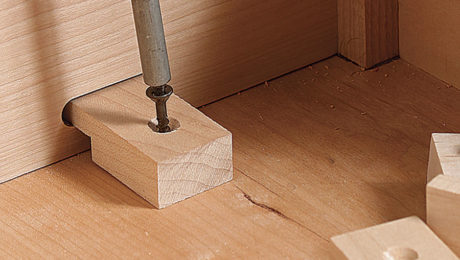
To anchor the tabletop at the center, instead of making a slot, I cut a regular counterbore and clearance hole, which effectively cuts the amount of top movement in half. In the case of this table, because the column is centered on the brace, I couldn’t put the screw right through the brace, but needed to add a small tab, or screw block, on the inside face of the brace. Here’s how I made the screw blocks.
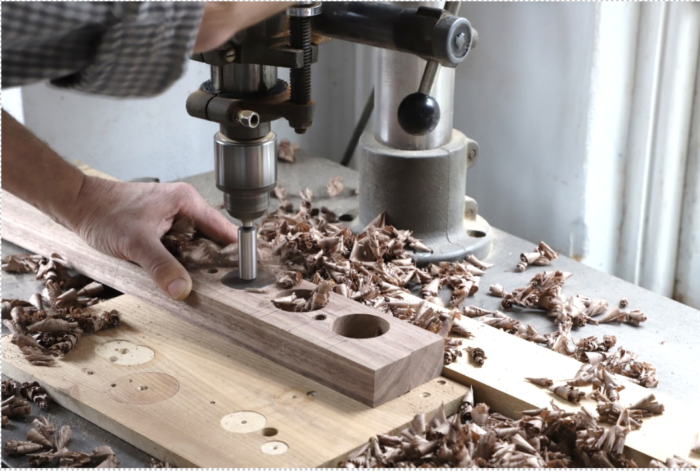
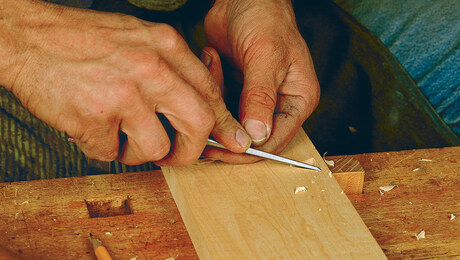
It’s easiest and safest to make a batch of blocks at once. Using a scrap of the same stock I used to build the table, I started by drilling the counterbores and through clearance holes for the screws (they are the smaller holes in this photo). Then I used the 1-5/8-in.-dia. Forstner bit shown in action above to cut holes right through the scrap.
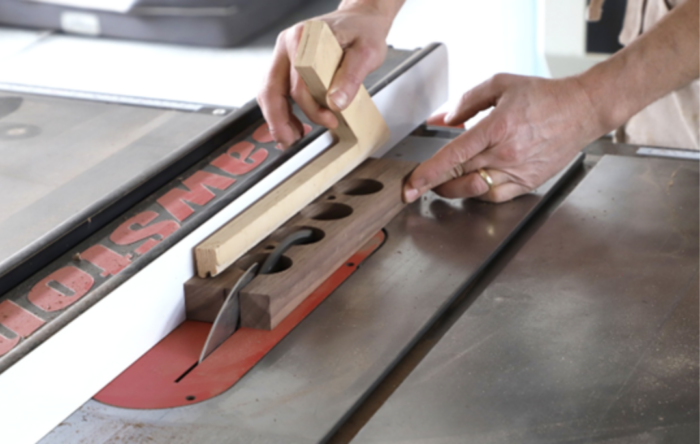
Next I ripped the scrap in two.
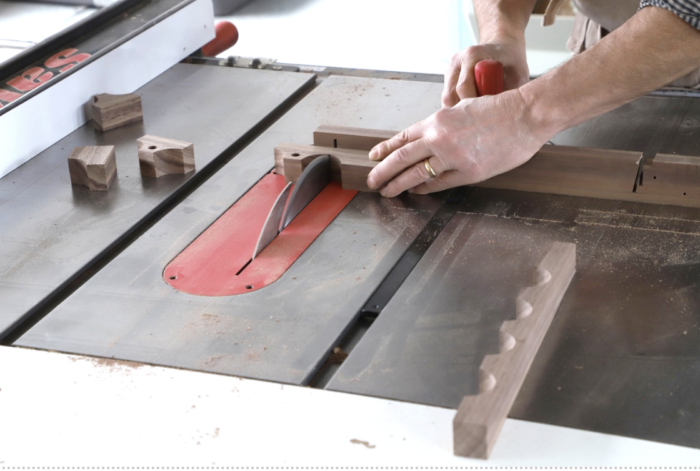
Then I crosscut the workpiece into individual screw blocks.
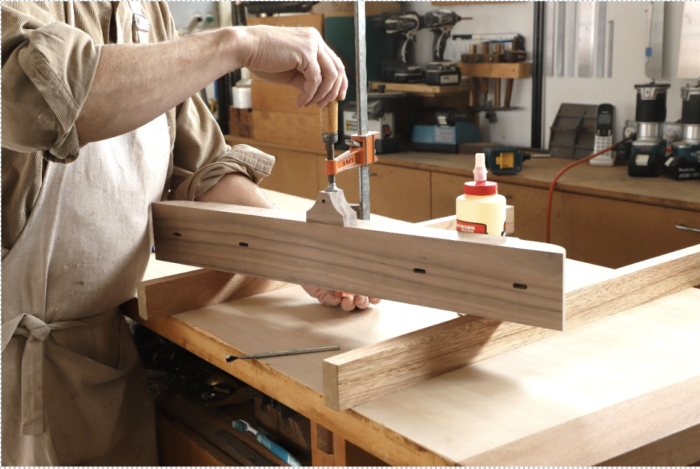
I glued the screw block flush to the top face of the brace.
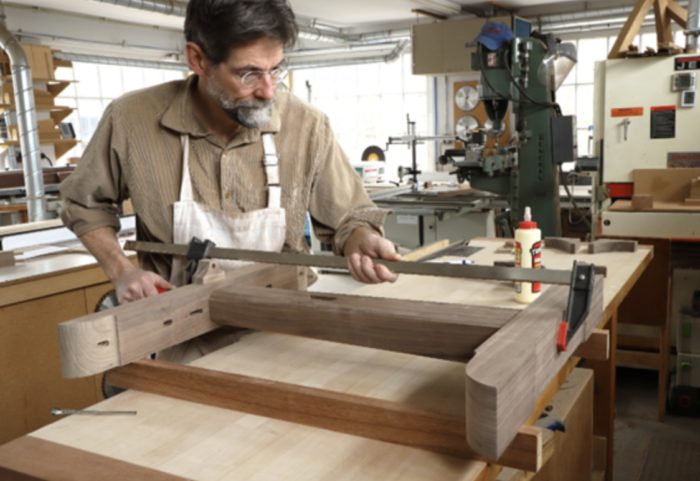
And glued the trestle together.
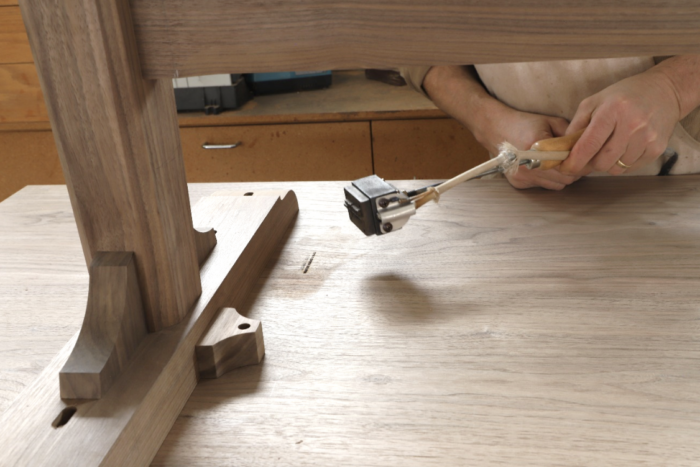
After screwing the base to the top, when I burned my signature onto the underside it might have occurred to me that I’d be the last one to see that screw block for quite some time.
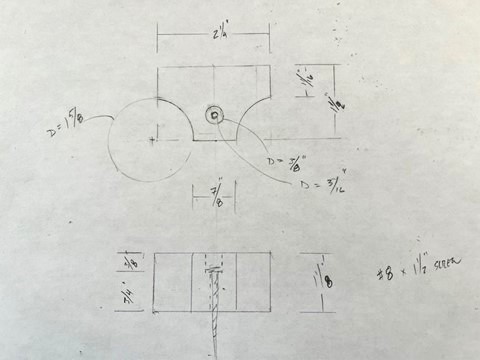
In case you’d like to make some just the same, here are the dimensions:




Log in or create an account to post a comment.
Sign up Log in