
Staying Safe on the Table Saw
Marc Adams shares his tips for safe ripping and crosscutting, including jigs to beef up your miter gauge, a good crosscut sled, and a zero-clearance insert.
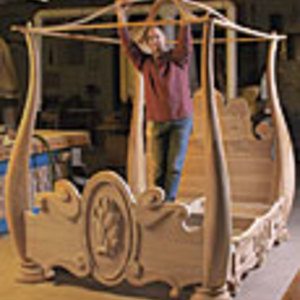
Synopsis: Hundreds of students pass through Marc Adams’ woodworking school each year, so he needs rock-solid safety practices for everyone who comes in, regardless of skill level. Table saw safety is essential, and here he shares his core principles for staying safe and avoiding kickback: Maintain control, use a splitter to avoid kickback, and limit your exposure to the blade with essential gear such as push sticks, pads, and the blade cover. Included are tips for safe ripping and crosscutting, including jigs to beef up your miter gauge, a good crosscut sled, and a zero-clearance insert.
Most woodworkers, including me, will answer yes to the following two questions, while looking sheepishly at their penny loafers. Did you ignore the “Using Your Saw” section in the owner’s manual when you got your first table saw? Have you experienced kickback?
I have had workpieces kick back a few times in my life. Fortunately, I wasn’t hurt. For others, though, that instant on the table saw has been tragic and life-altering.
With hundreds of students passing through my school each year, I’ve developed firm guidelines for safe table saw use, regardless of skill level. My first rule is to keep all 13 saws properly set up and maintained. But this article focuses on the second part of the equation: a knowledgeable operator. If you understand how the saw works and know the best practices for its use, the chance for a bad accident can be virtually eliminated. Machines don’t think, but you can.
Kickback is the main danger
Kickback accounts for the majority of table saw accidents. Unfortunately, I encounter many woodworkers who don’t understand the cause of kickback, or the cure.
Here’s how it happens. The teeth at the front of the blade do the cutting, and they move downward, helping to keep the board safely on the table. But the teeth at the back of the blade are not your friend; they spin in your direction at over 100 mph. During a safe cut, the slot made by the blade brushes past the back teeth without incident. But if the back of the board pivots as you push it, or one of the halves is pinched into the blade somehow, only one of those back teeth needs to grab the workpiece to set kickback in motion. And it happens in milliseconds, as the lifting action converts almost instantly to horizontal force aimed right at you. The projectile can hurt you, obviously, but it can also pull your hand into the blade. The good news is that kickback is easy to prevent.
Use a splitter whenever possible—Also called a spreader or riving knife, a splitter keeps a board from making contact with the teeth at the back of the blade. Problem solved? Not exactly. The splitter has to be there to do its job, and until recently, most splitters were downright inconvenient and were therefore discarded. North American saws that are more than a few years old will have a crude splitter that extends high above the blade and too far behind it. The main problem is that these splitters have to come off the saw for all non-through-cuts, such as grooves. The big blade covers are just as inconvenient.
This outdated safety equipment is difficult to detach and reinstall, so most of these splitter/blade cover assemblies find a permanent home in a shop cabinet. If you have one of these saws, you still owe it to yourself to use a splitter (see “Older saw? You have options,” p. 31).
A riving knife is a blessing—Fortunately, a few years ago Underwriters Laboratories (UL) proposed that all new table saws have a riving knife, a more versatile type of splitter borrowed from European table saws, and all of the North American table saw manufacturers complied.
If you can afford to buy a new saw, you’ll find safety much more convenient. The riving knife can stay on for almost every type of cut, and the new blade covers are narrower and come off the saw more easily when they get in the way. Unfortunately, today’s riving knives still include “anti-kickback fingers,” which are basically useless and often in the way, so I remove them.
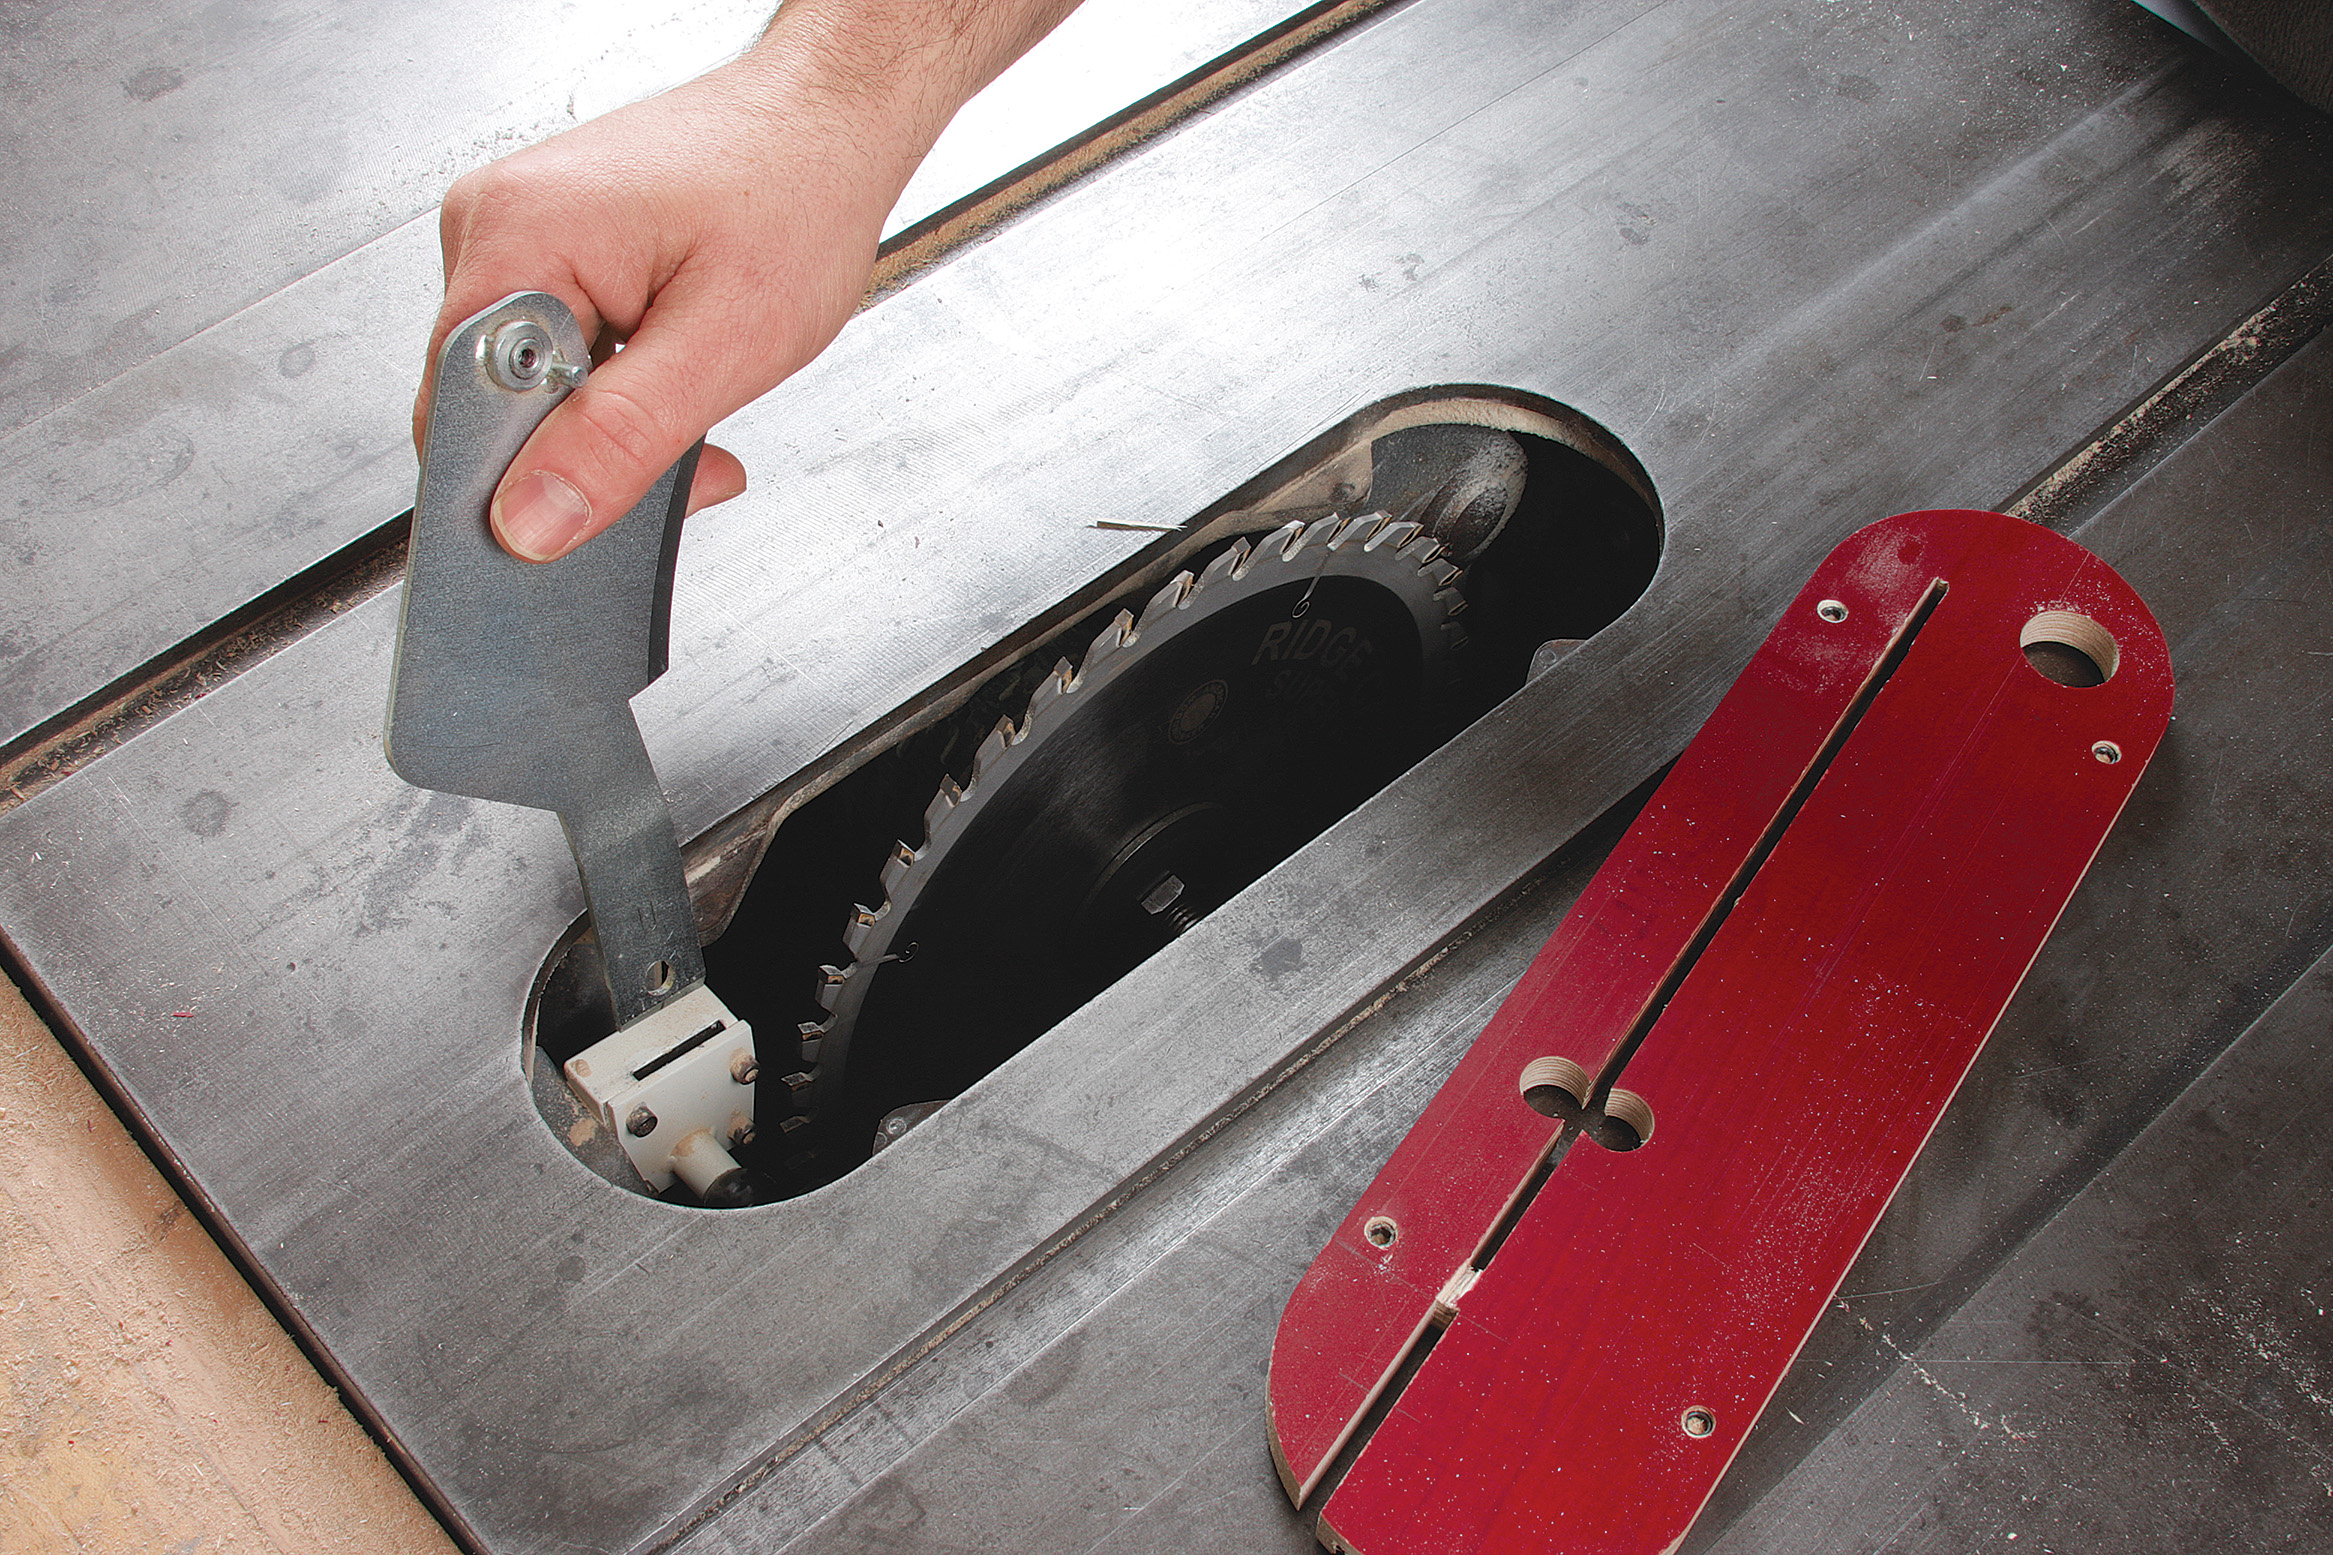
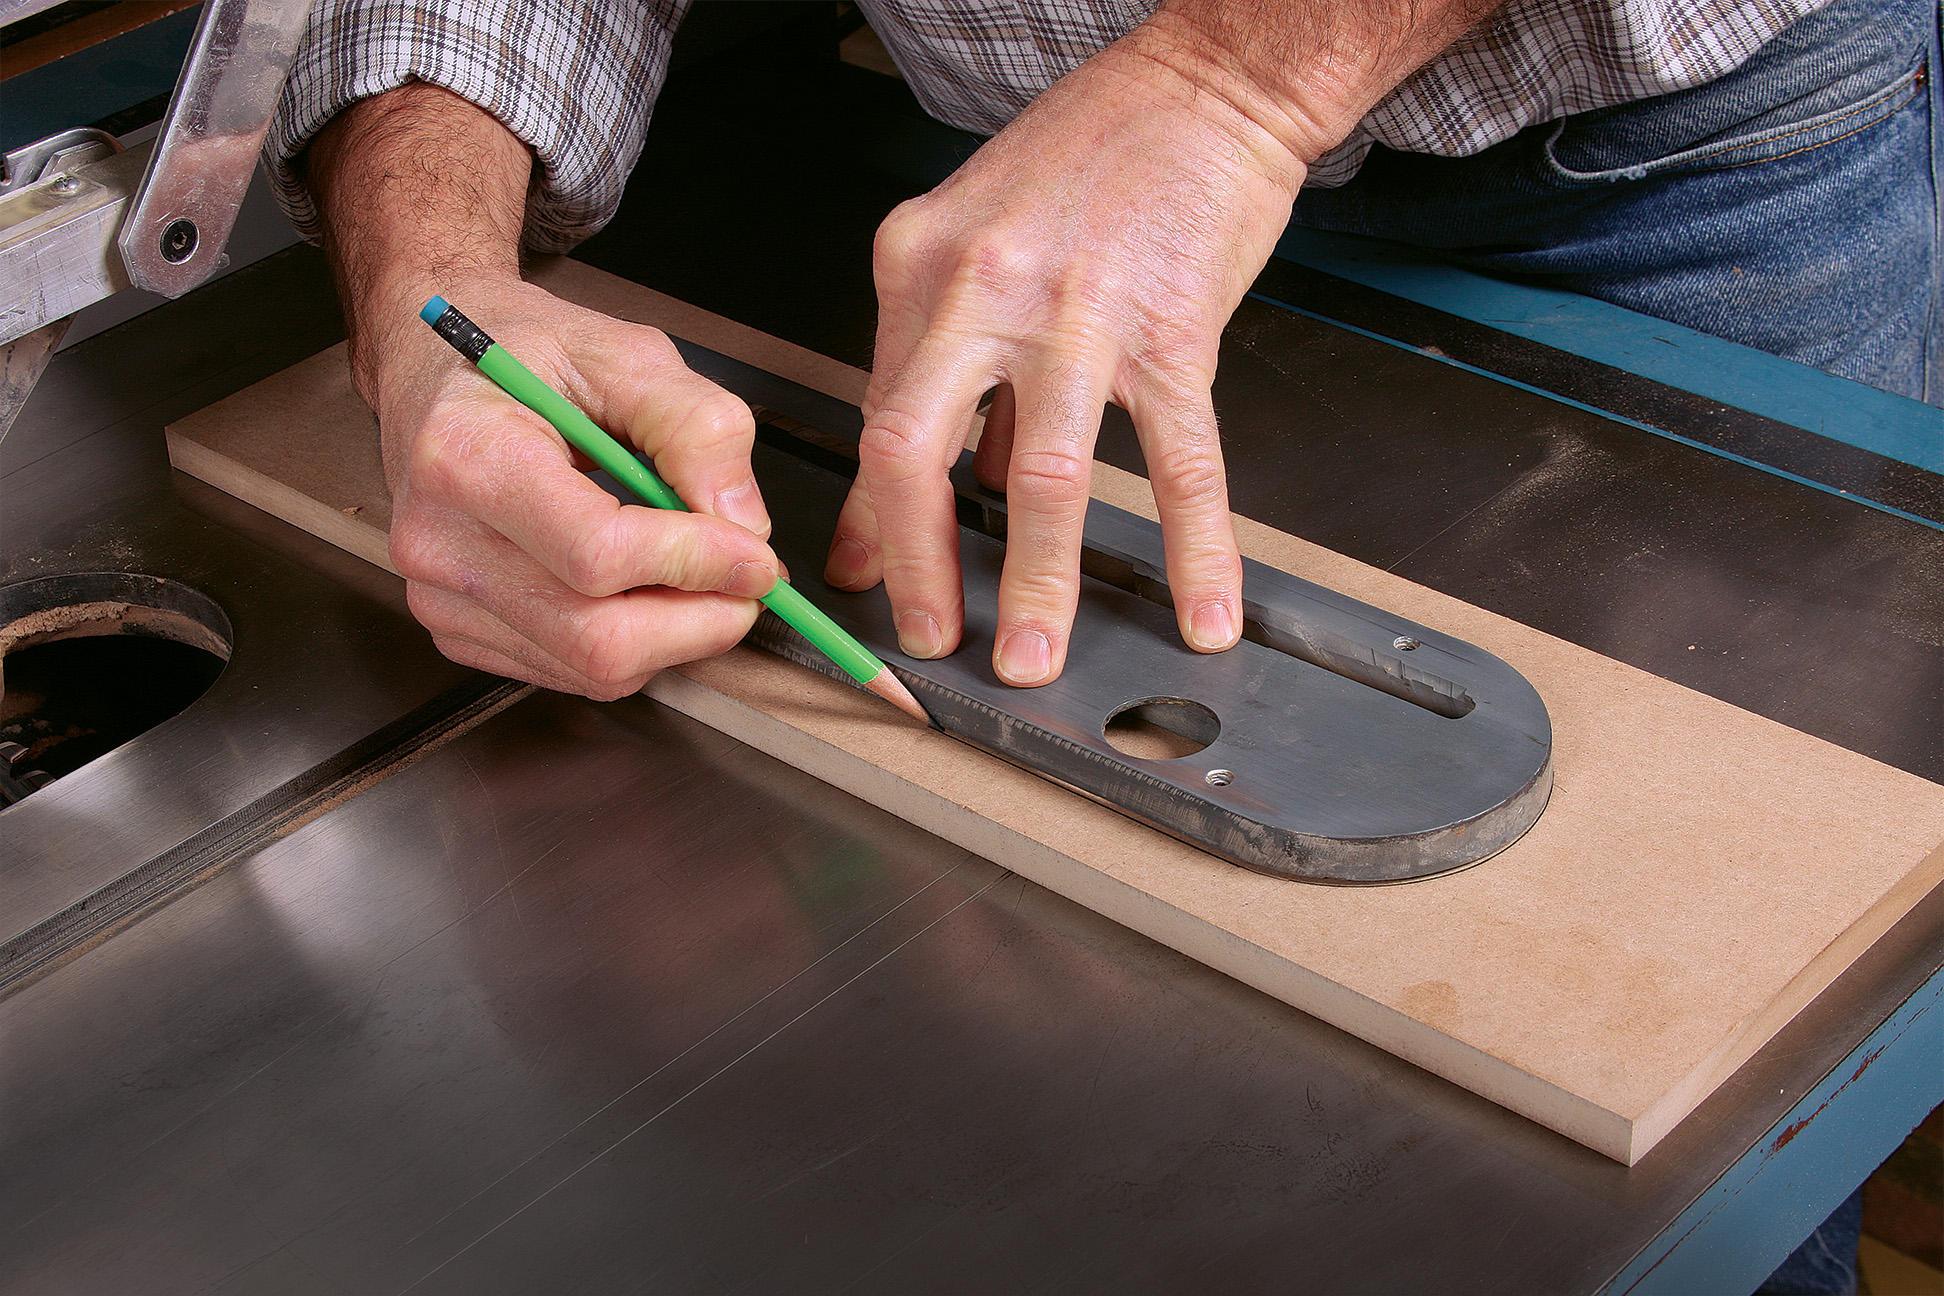
One gray area is getting your riving knife or splitter to fit through a shopmade throat plate. On my saw, I just extend the blade slot (using my scrollsaw) to allow the low-profile riving knife to fit through. But the taller knife won’t work because it is longer, and I’d have to make the slot so long it would weaken the insert plate. So I use my zero-clearance throat plate for crosscutting only, where tearout is the biggest problem and where I need to use my low-profile knife anyway to fit through the fence on my miter gauge and crosscut sled. For ripping, I use the standard throat plate. That lets me use the full-height riving knife and blade cover.
A few more tips
Even if a board is already jointed straight and flat, it might not stay that way as internal tensions are released during a cut. If a board jams during the cut, use one hand to turn off the saw, wait for the blade to stop, and finish the cut on the bandsaw. Also, be aware that a short board is more likely to pivot onto the back of the blade. If you are not sure about a workpiece, rip it on the bandsaw. And on some smaller, portable saws, the rip fence won’t stay parallel to the blade when you move it, which can cause binding, so you’ll need to check it each time.
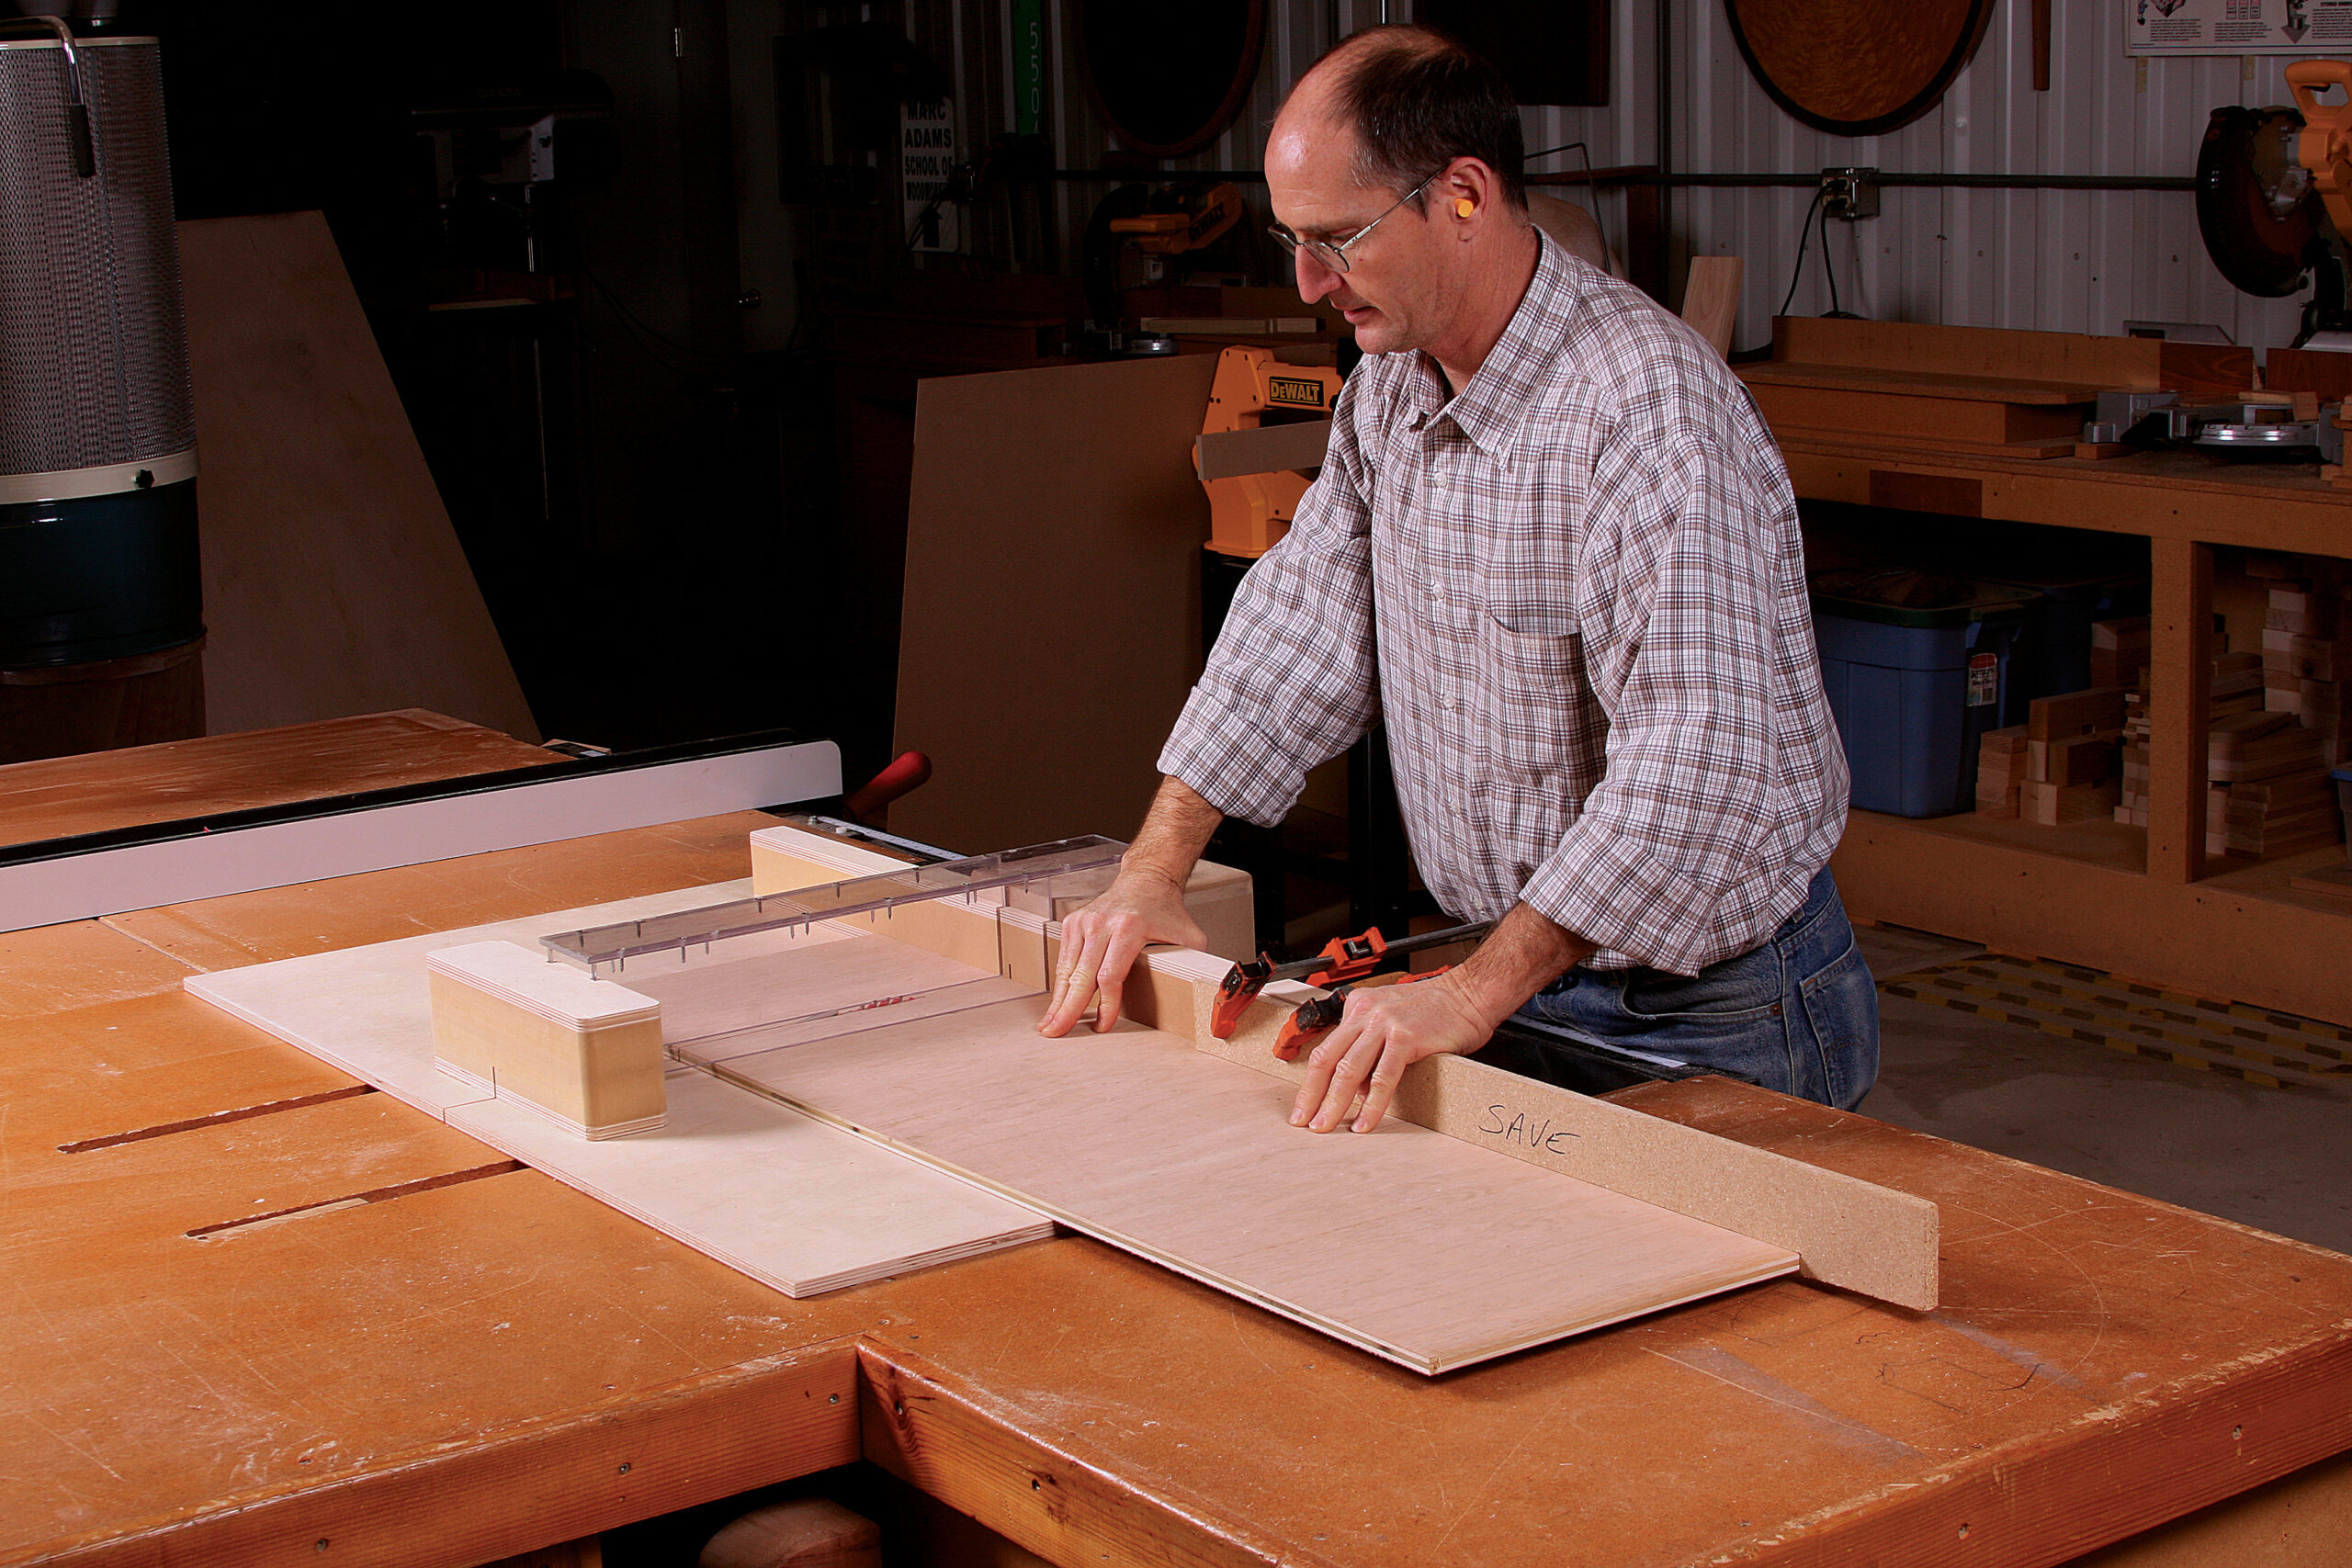
One no-no when crosscutting is using the rip fence as a stop. This traps the offcut, and the friction against the fence can cause it to pivot and bind, causing kickback. For the rest of my safety rules, see the photos and illustrations throughout this article.
Follow these basic safety guidelines and you’ll turn the most dangerous machine in the shop into a trusted friend. In Part 2, I’ll show you how to get even more value from this versatile tool, demonstrating a variety of fast, accurate joinery cuts.
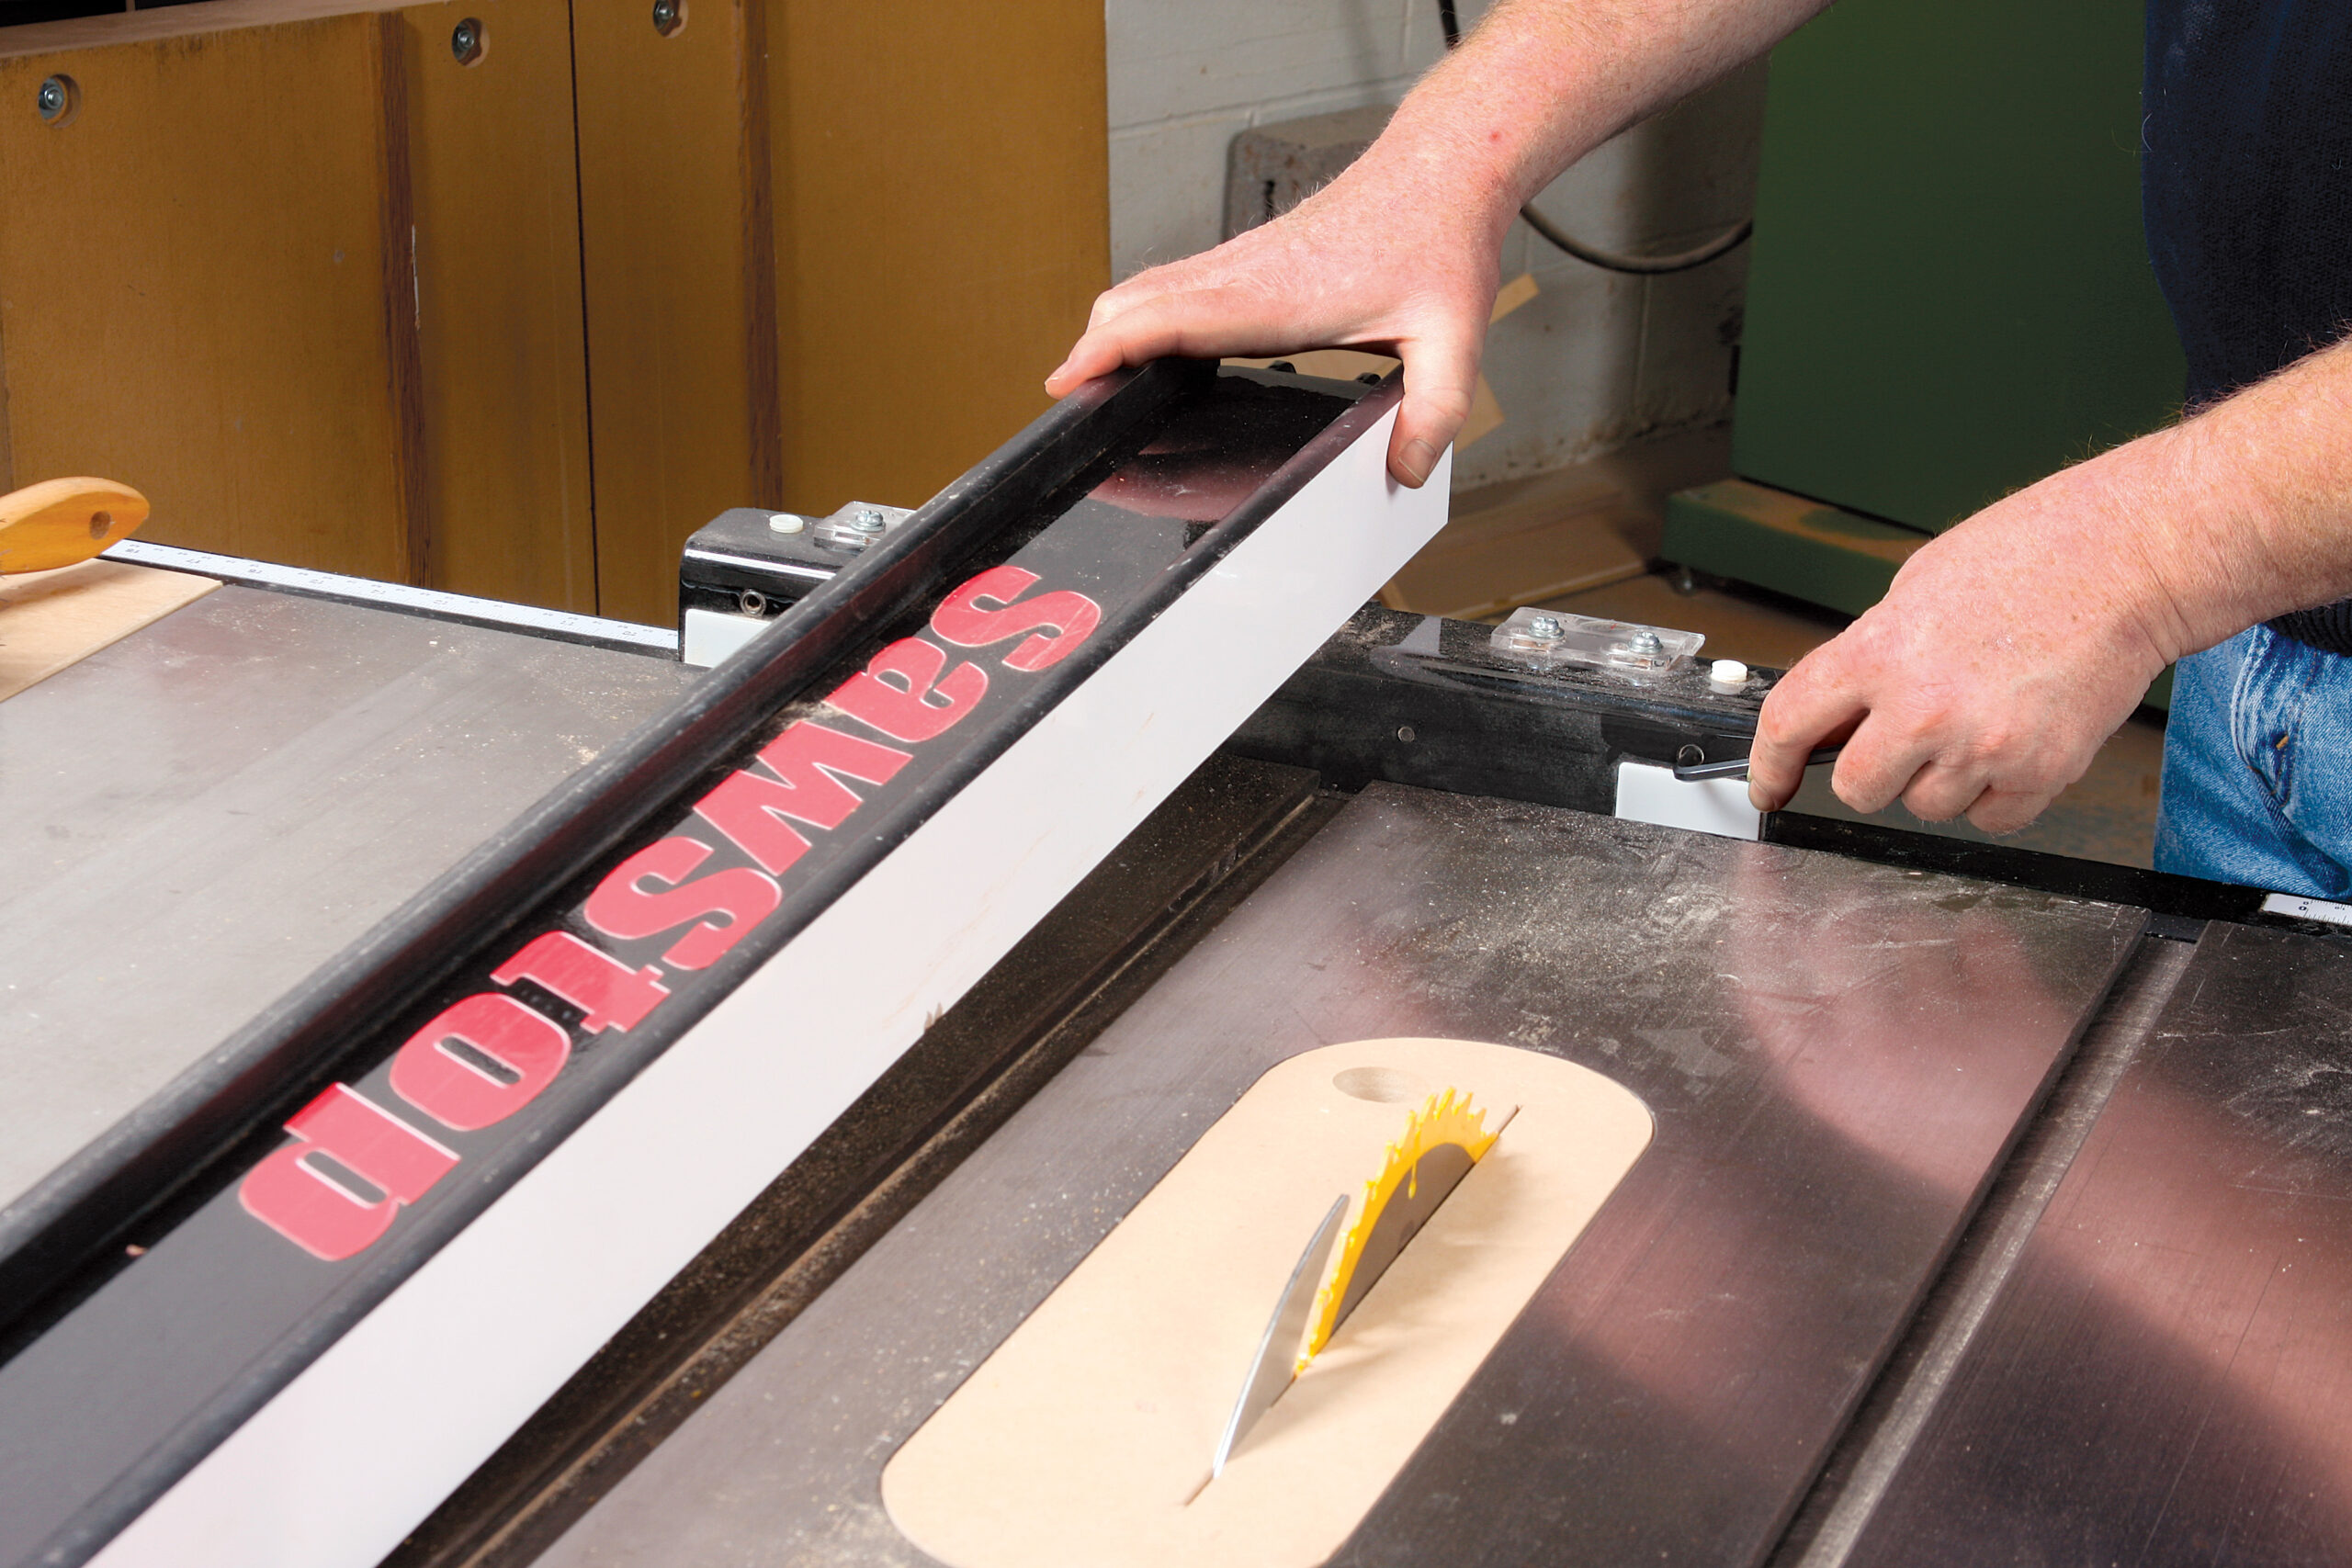
Today’s saws have better guards
A few years back, Underwriters Laboratories mandated that all saws sold in the United States have much-improved, European-style safety systems, and all North American manufacturers complied.
|
|
|

Older saw? You have options
Older splitter systems are inconvenient, and often discarded. But no worries—there are two good ways to replace them.
|
|
|

Ripcut basics
Set up for safety
When ripping boards, you need the fence to be parallel to the blade, and you need a few shopmade push sticks on hand.
Align the saw in two steps
How you adjust the table is different on different saws, but you need the miter slots to be parallel to the blade for safe crosscutting. Then you adjust the rip fence parallel with the slots and you’re set for ripping, too.
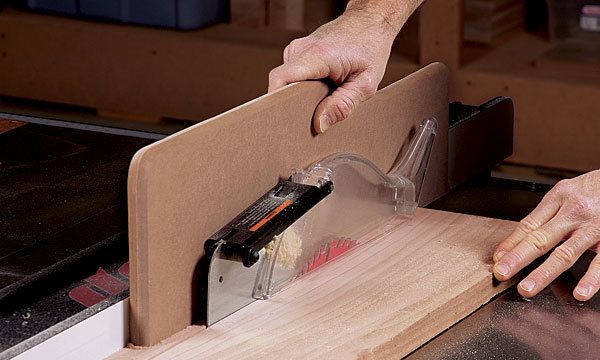
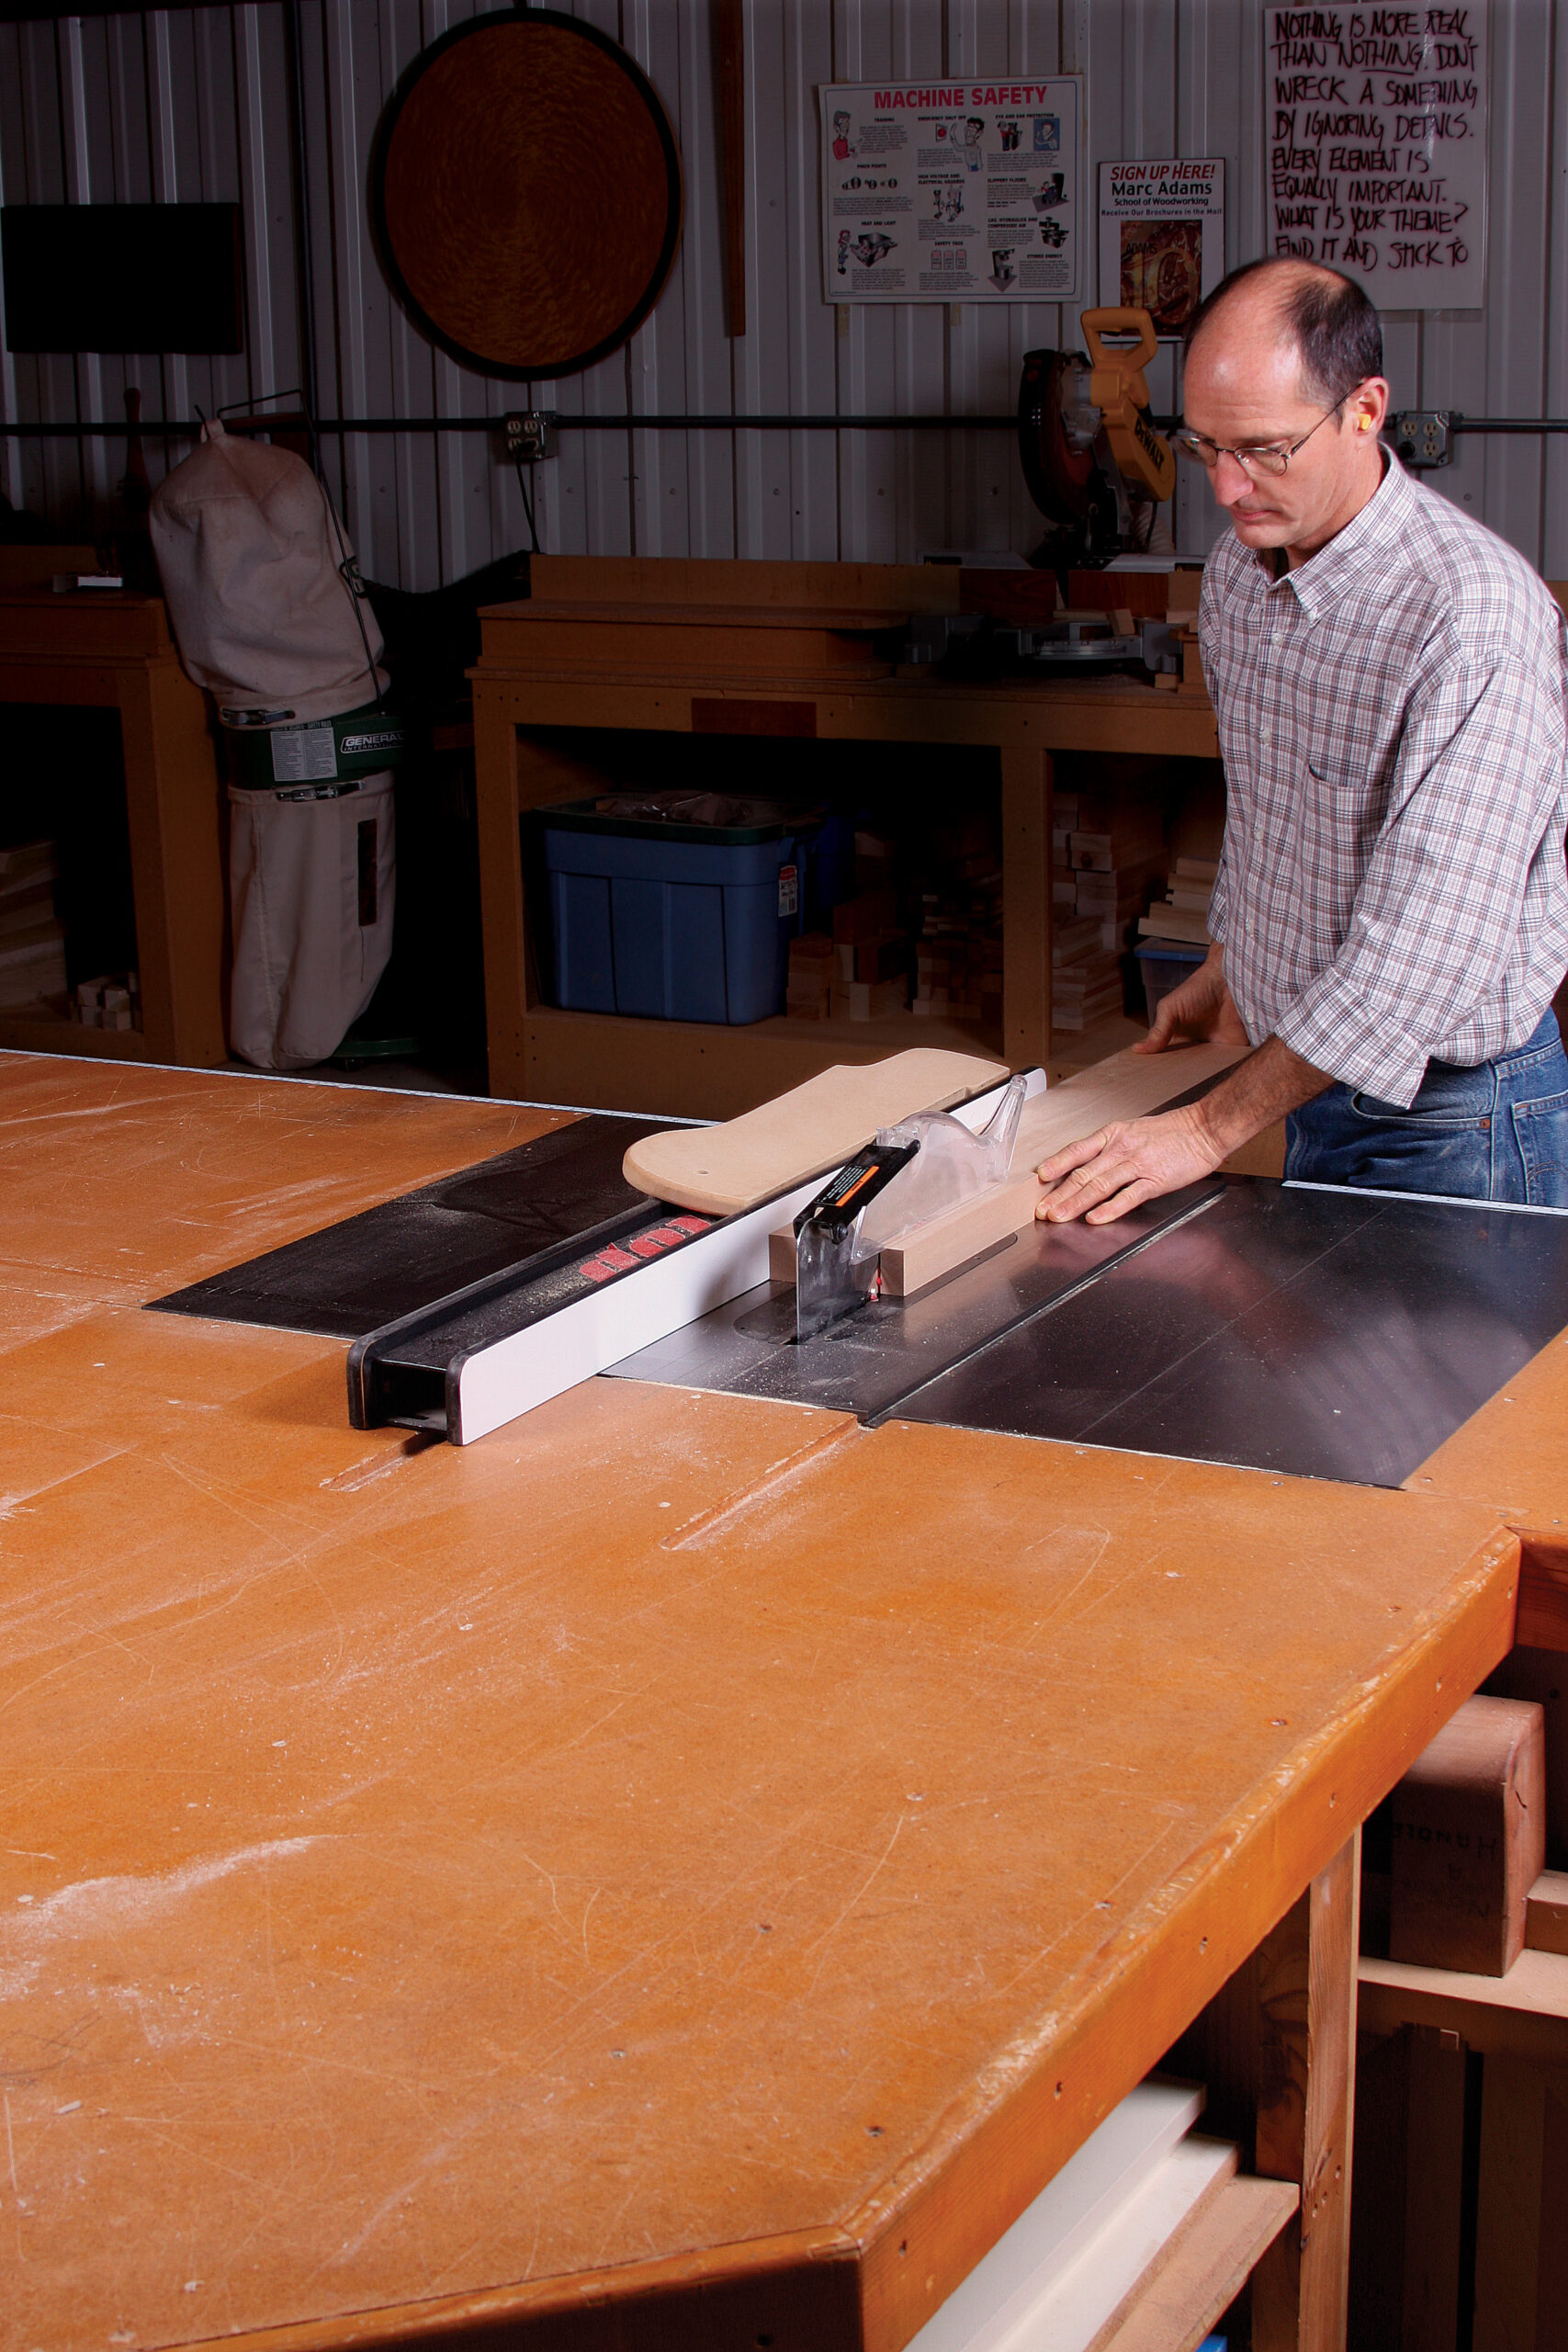
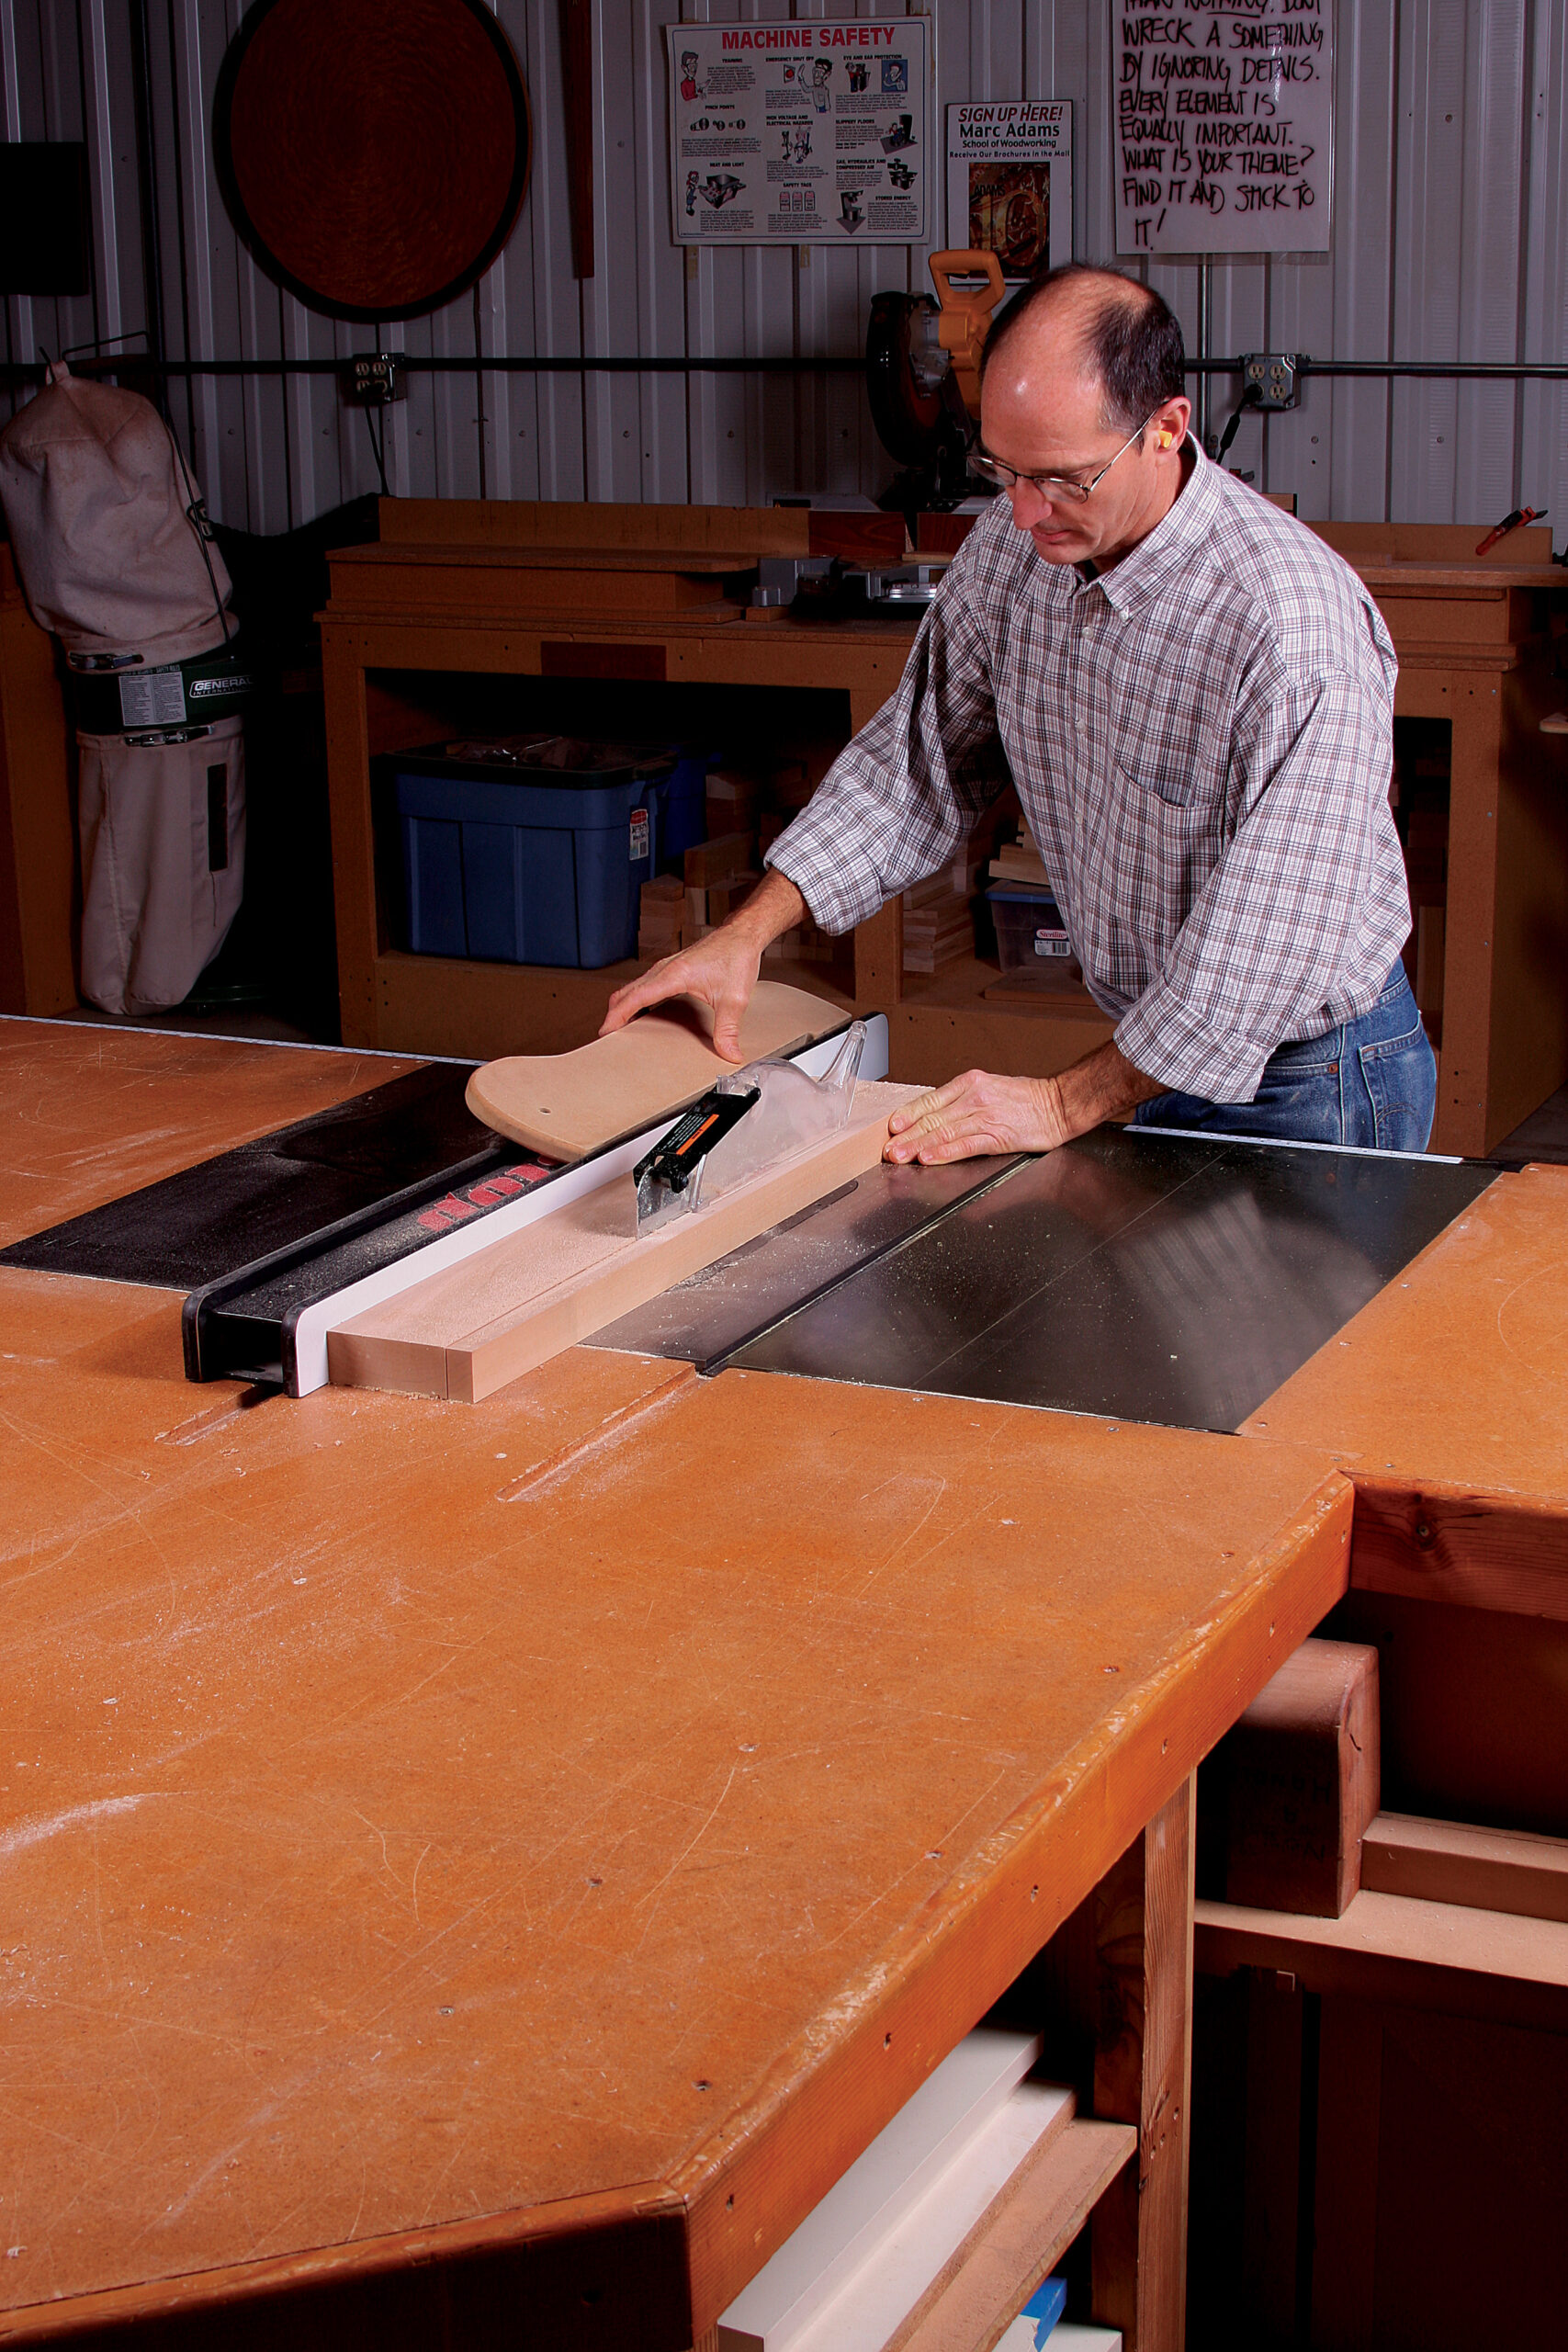
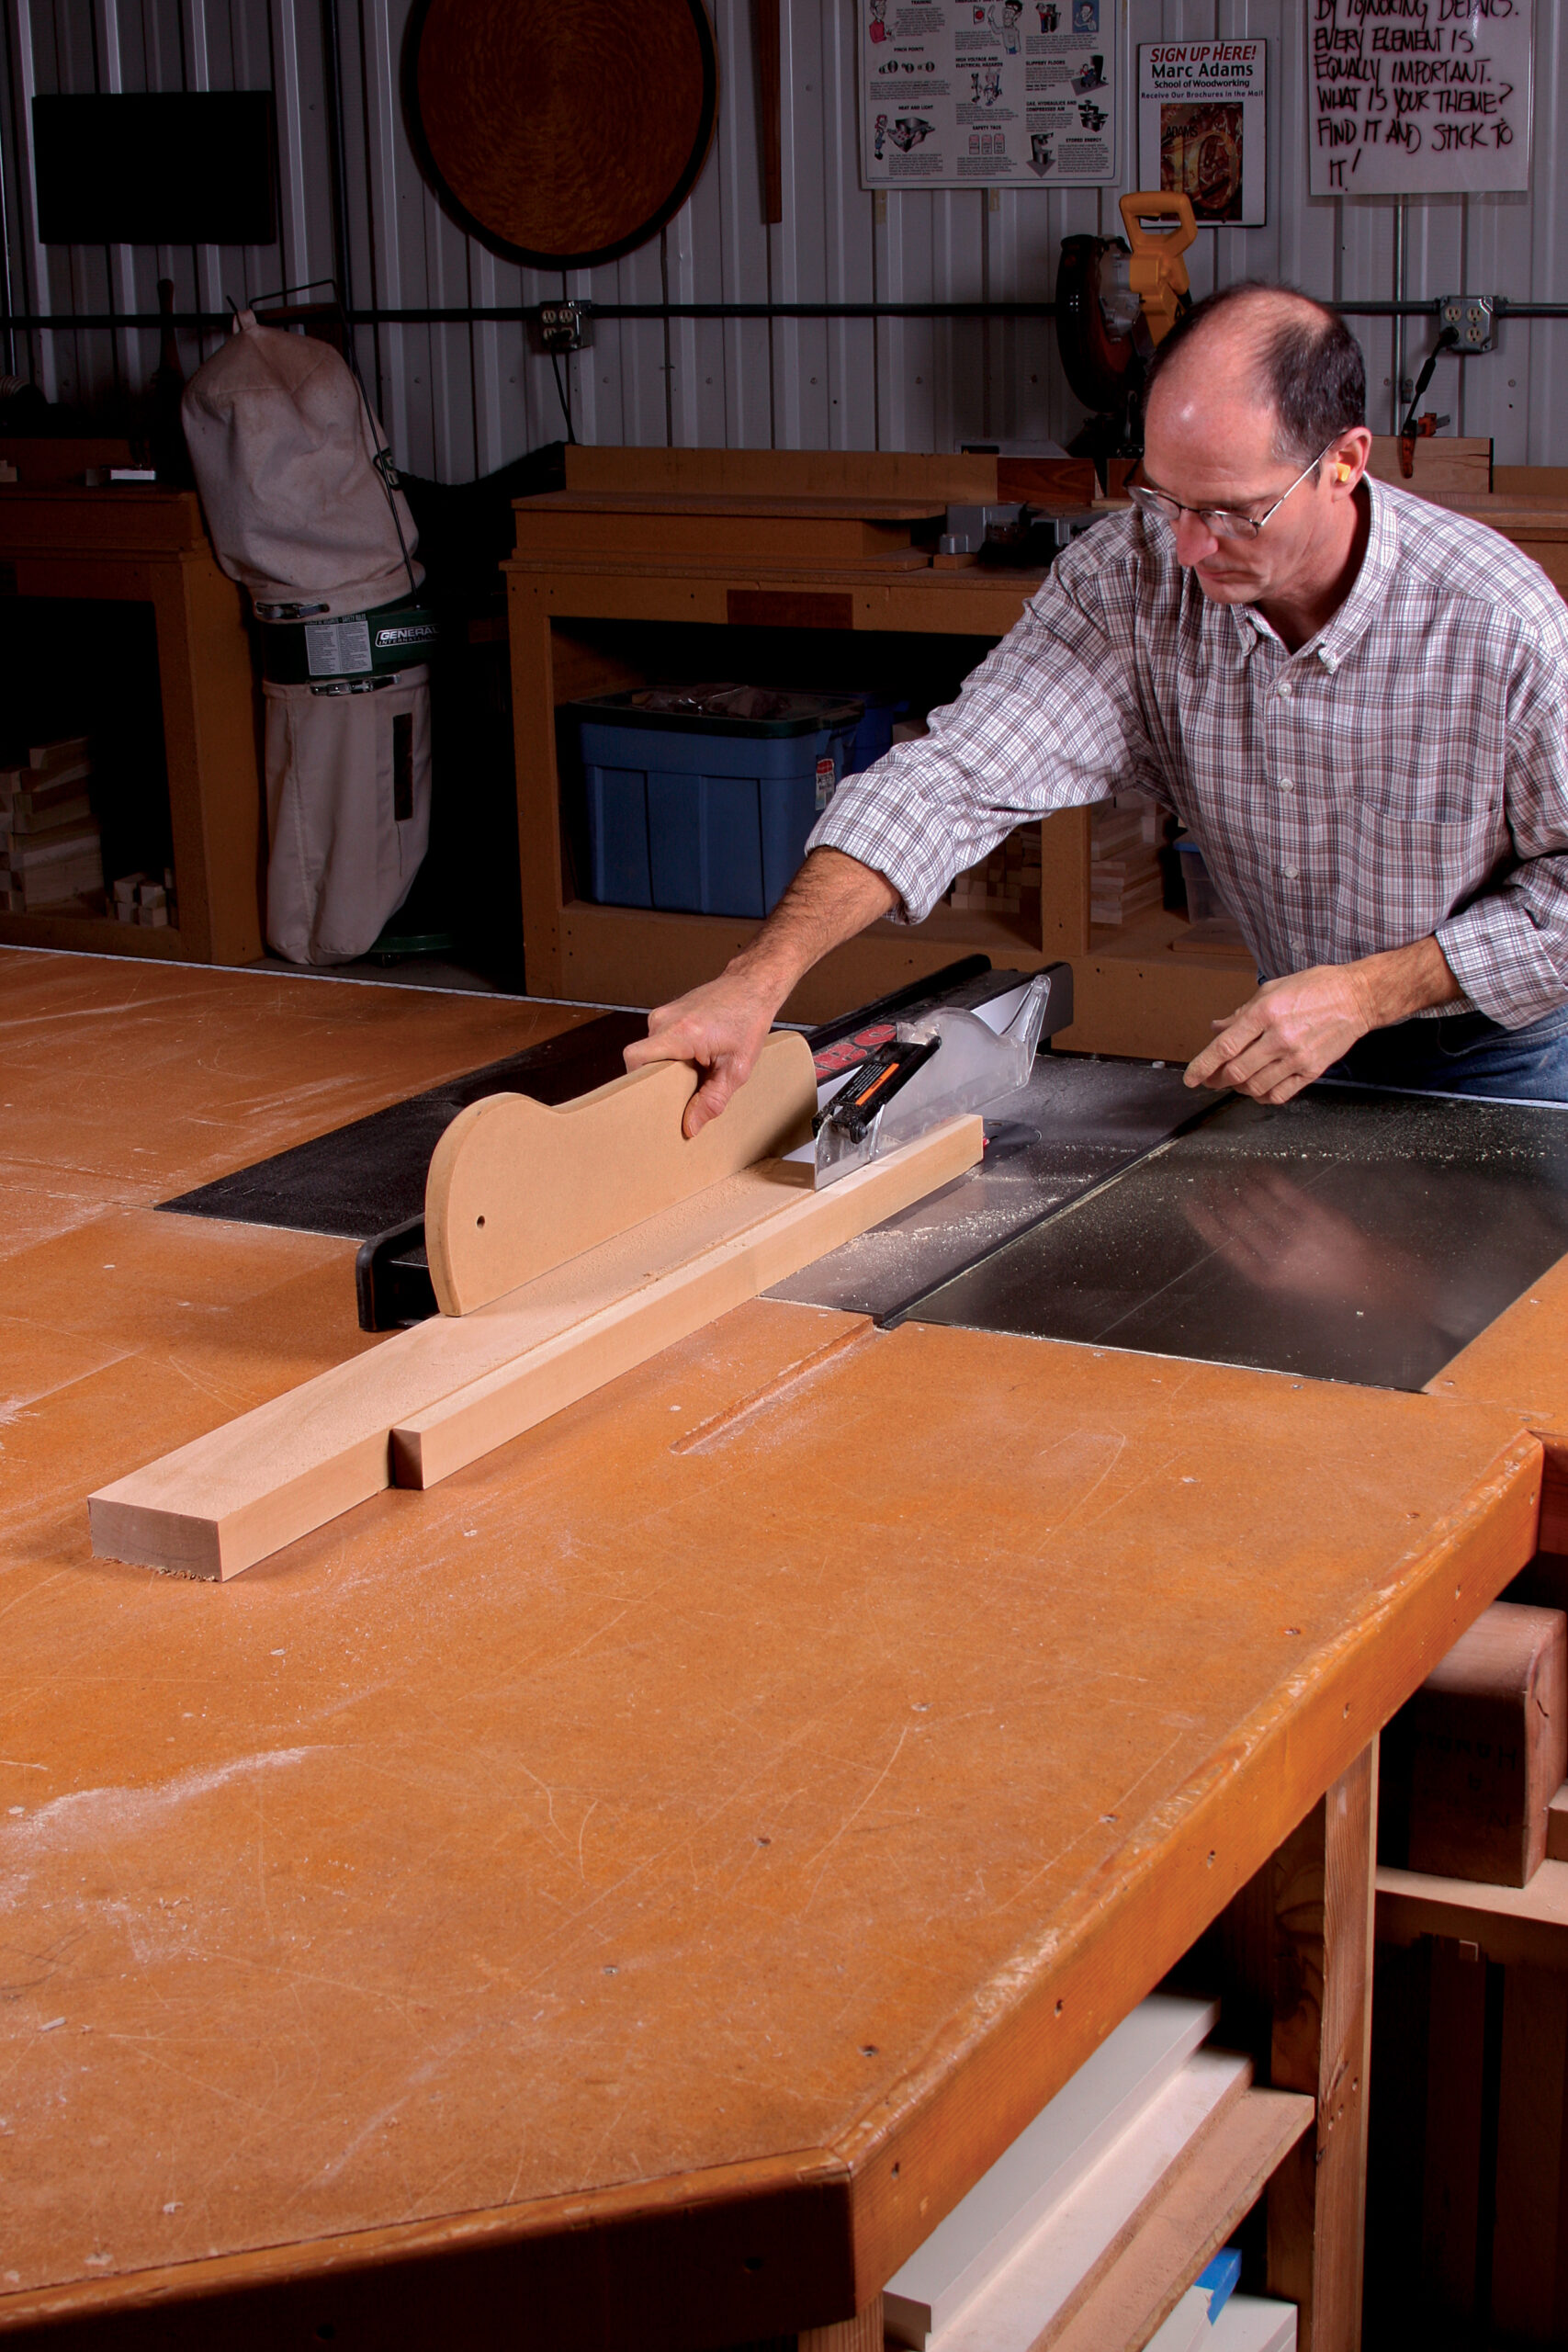
Smart push stick design
Adams’s push sticks hook over the back of a board, of course, but also extend over the top of it for full control. He makes them in MDF in a number of sizes and thicknesses.
Safe ripping is a 3-step process
|
|
|
|
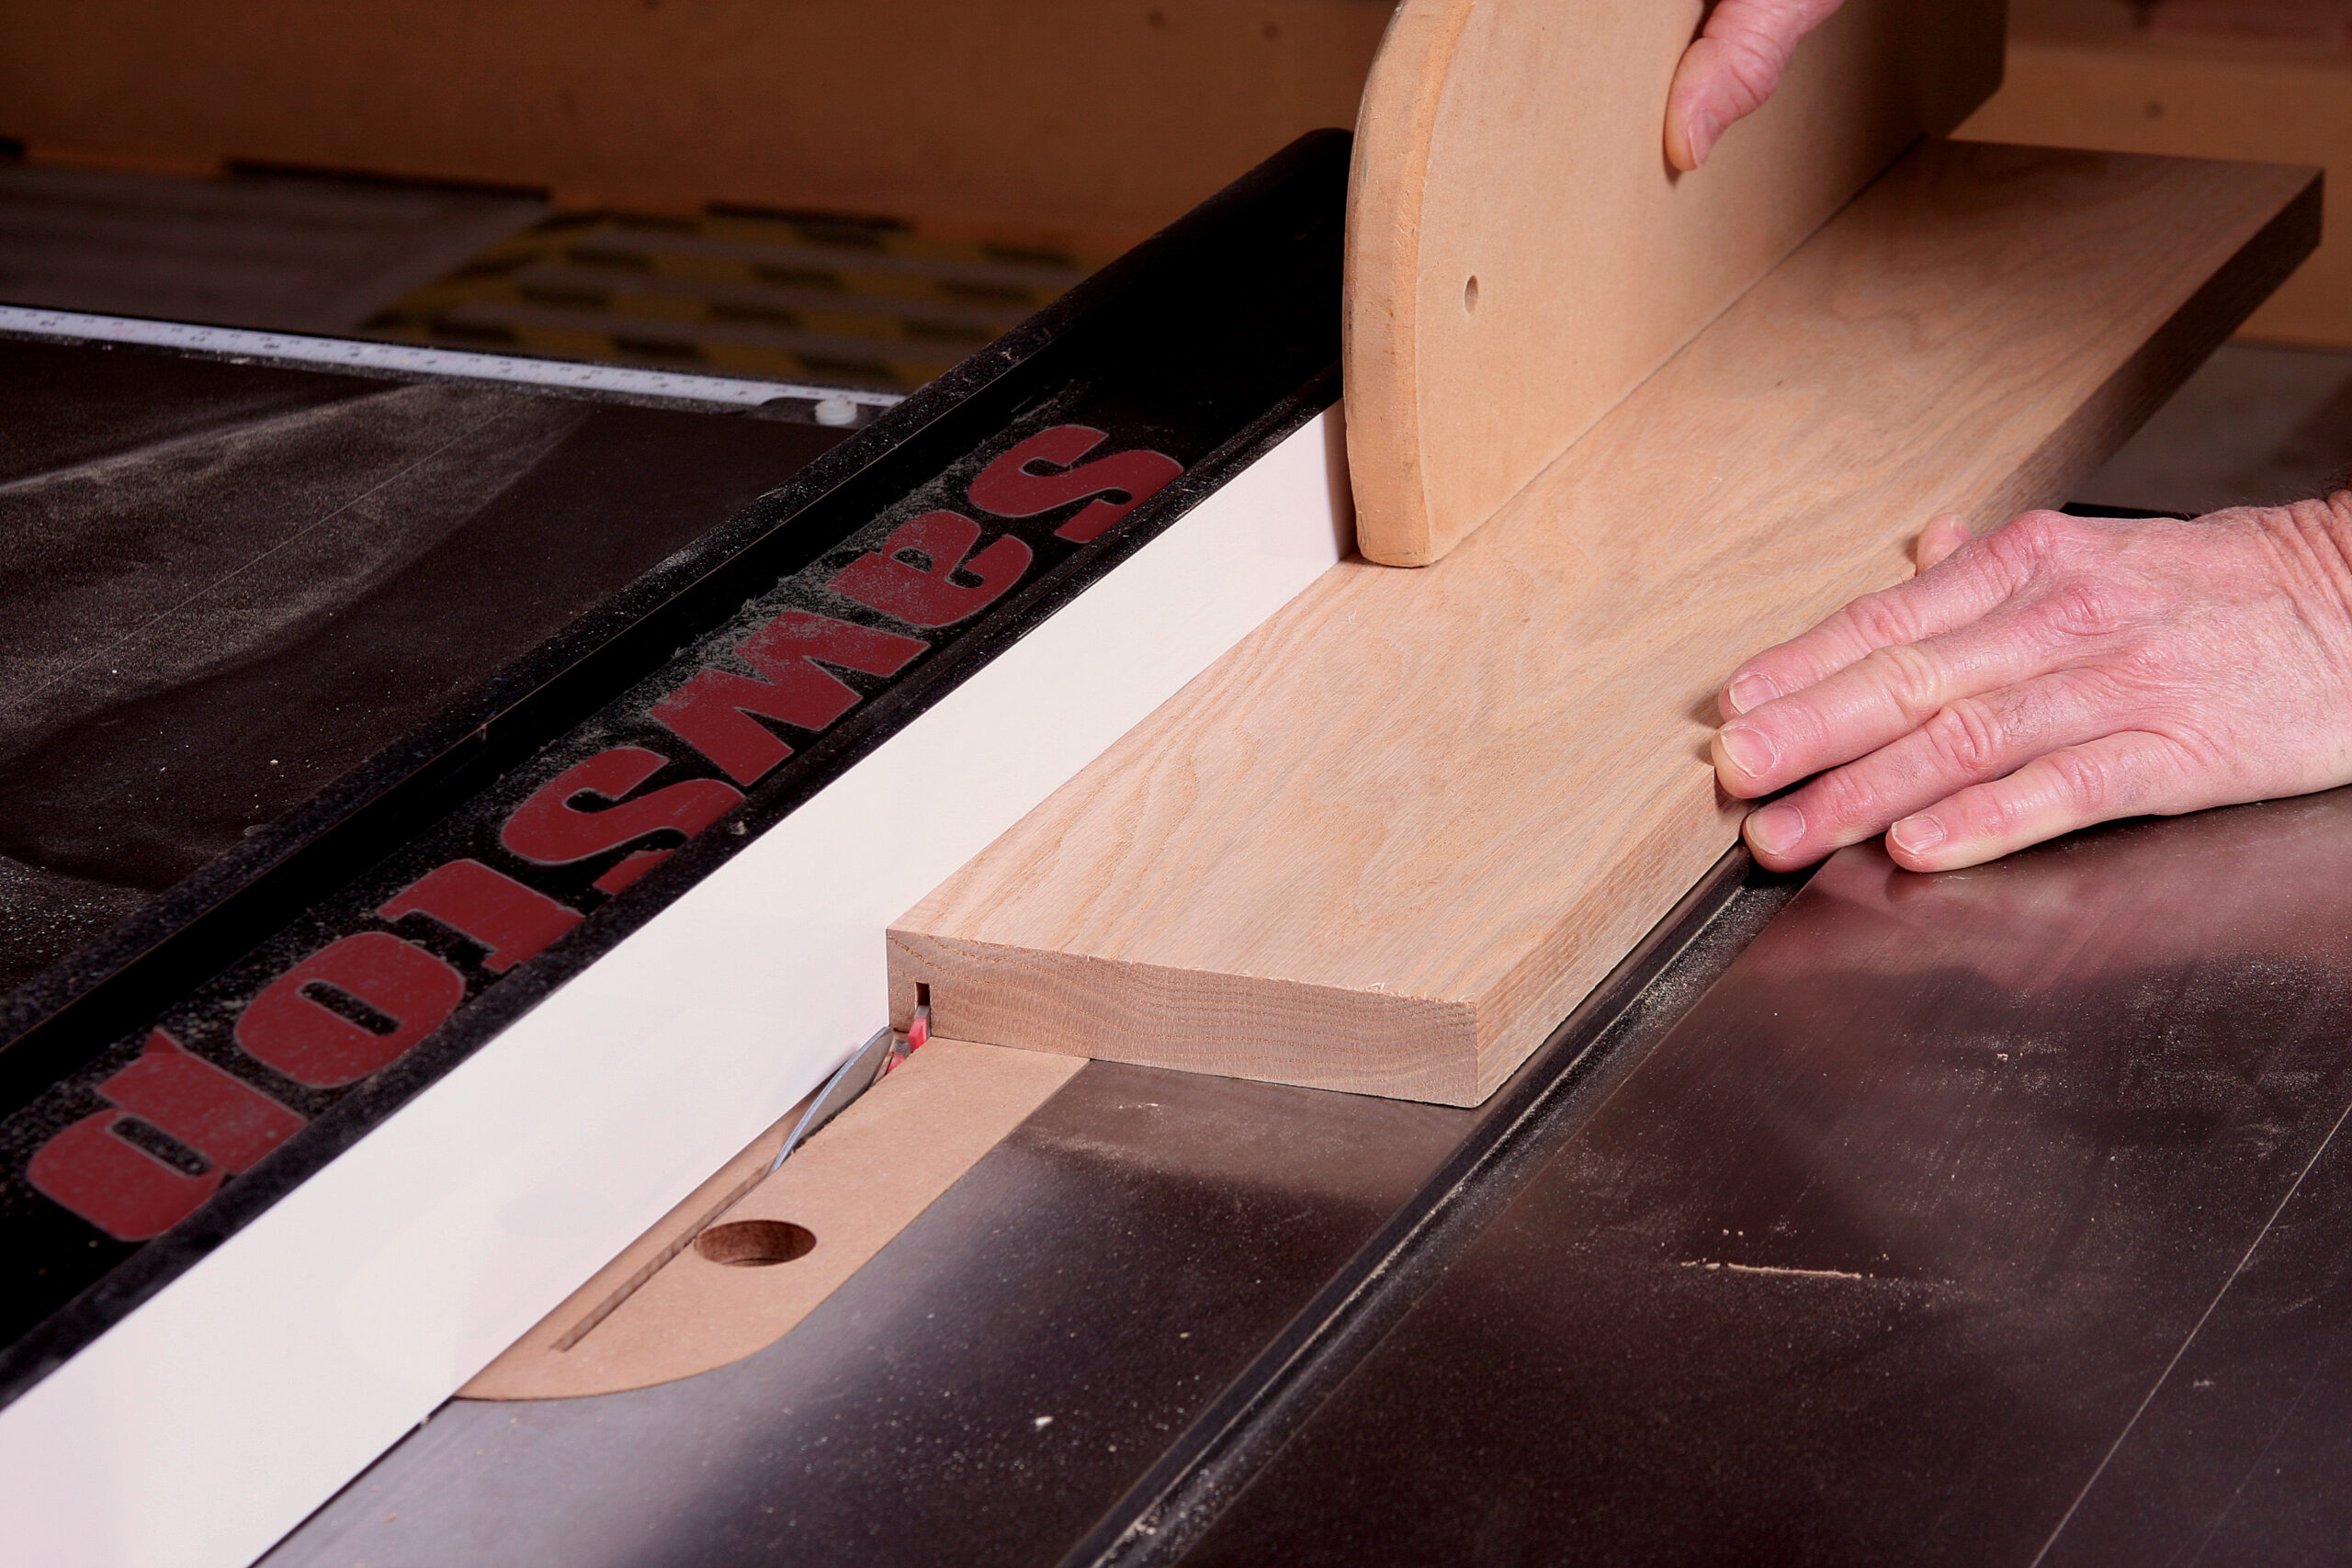
Crosscut basics
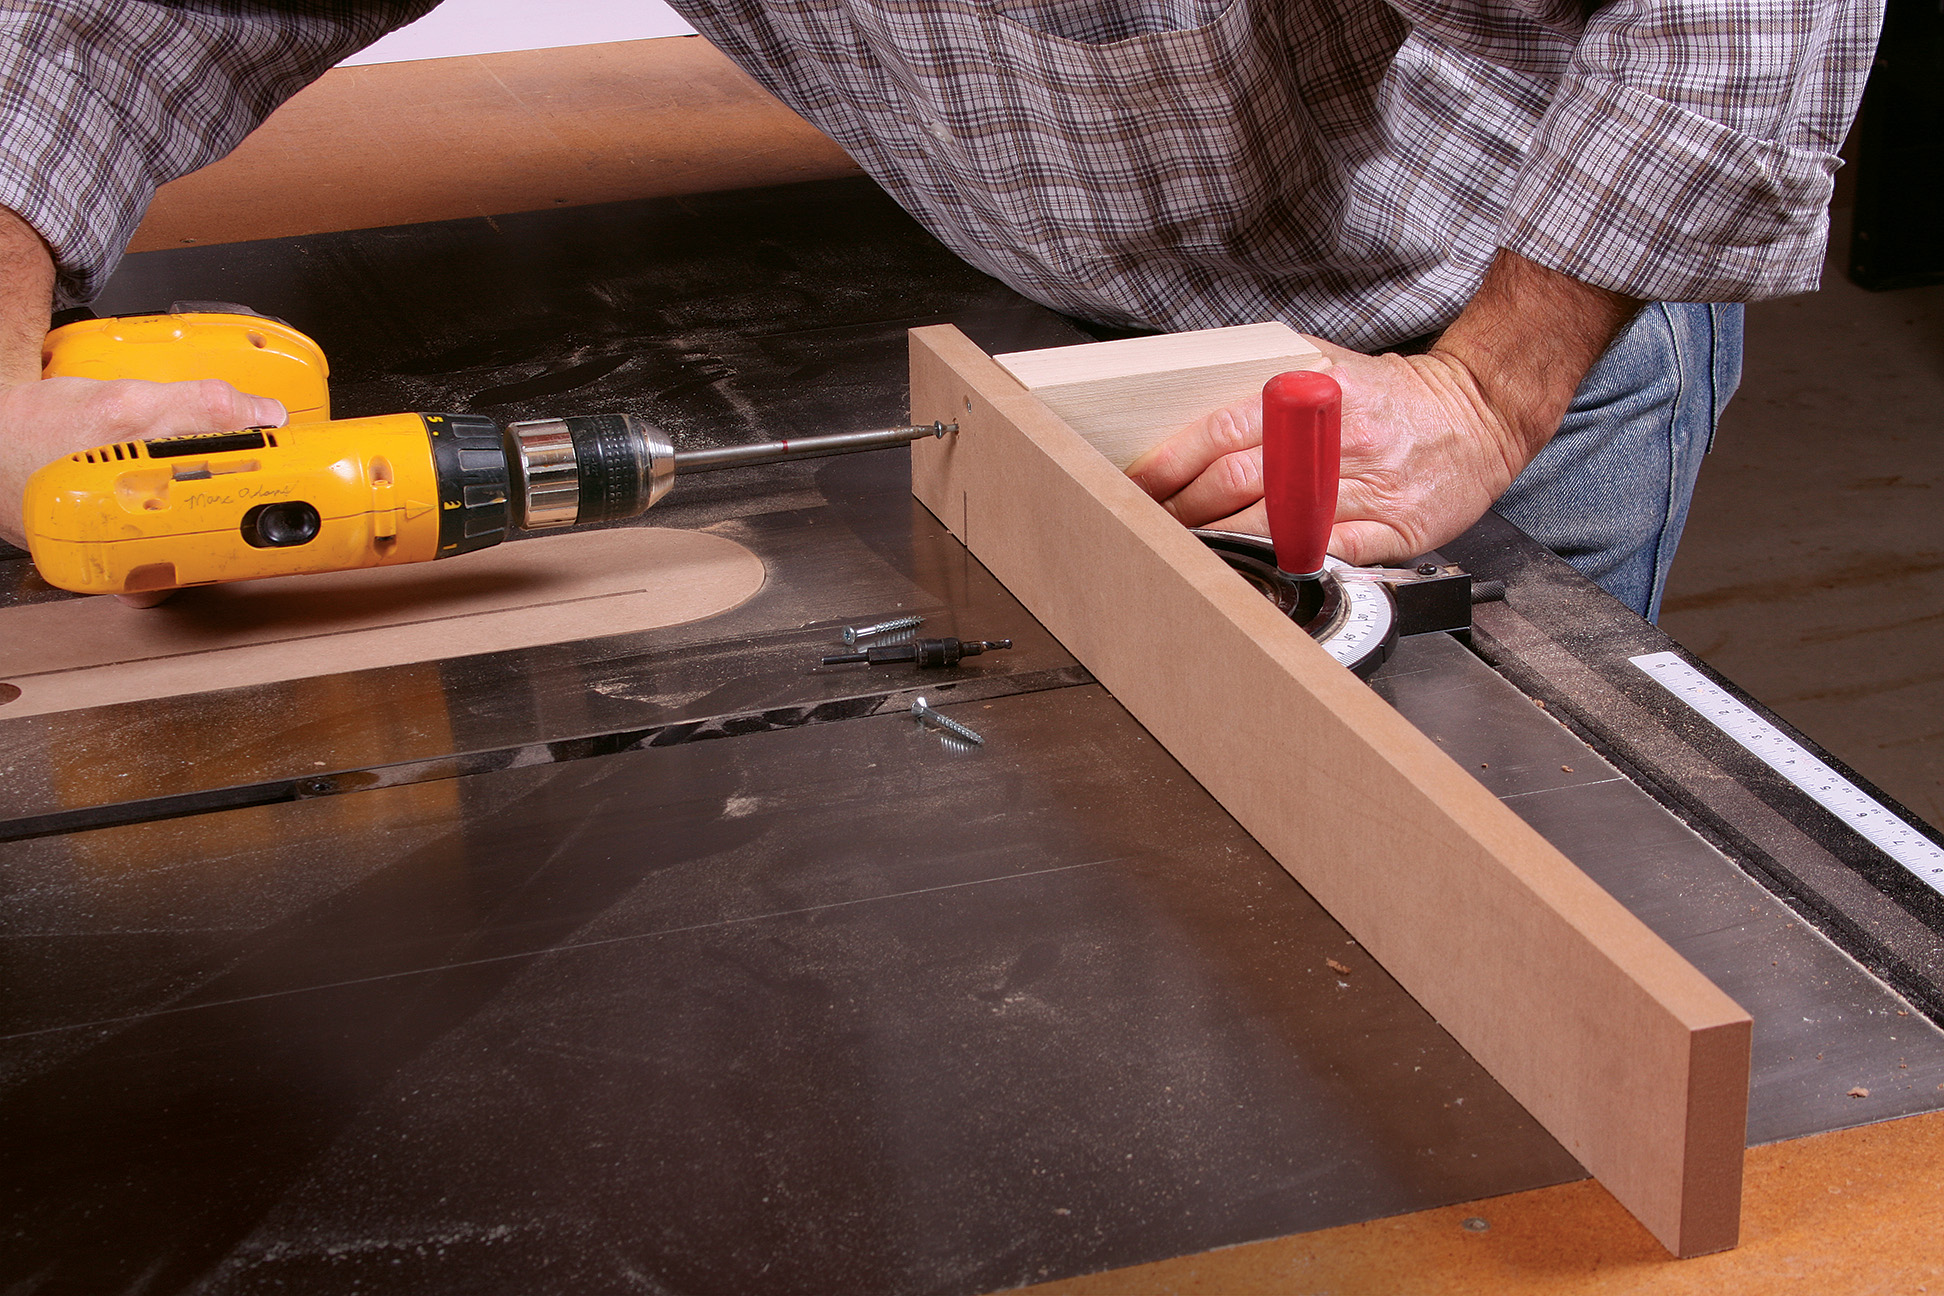
Set up for safety
|
|
|
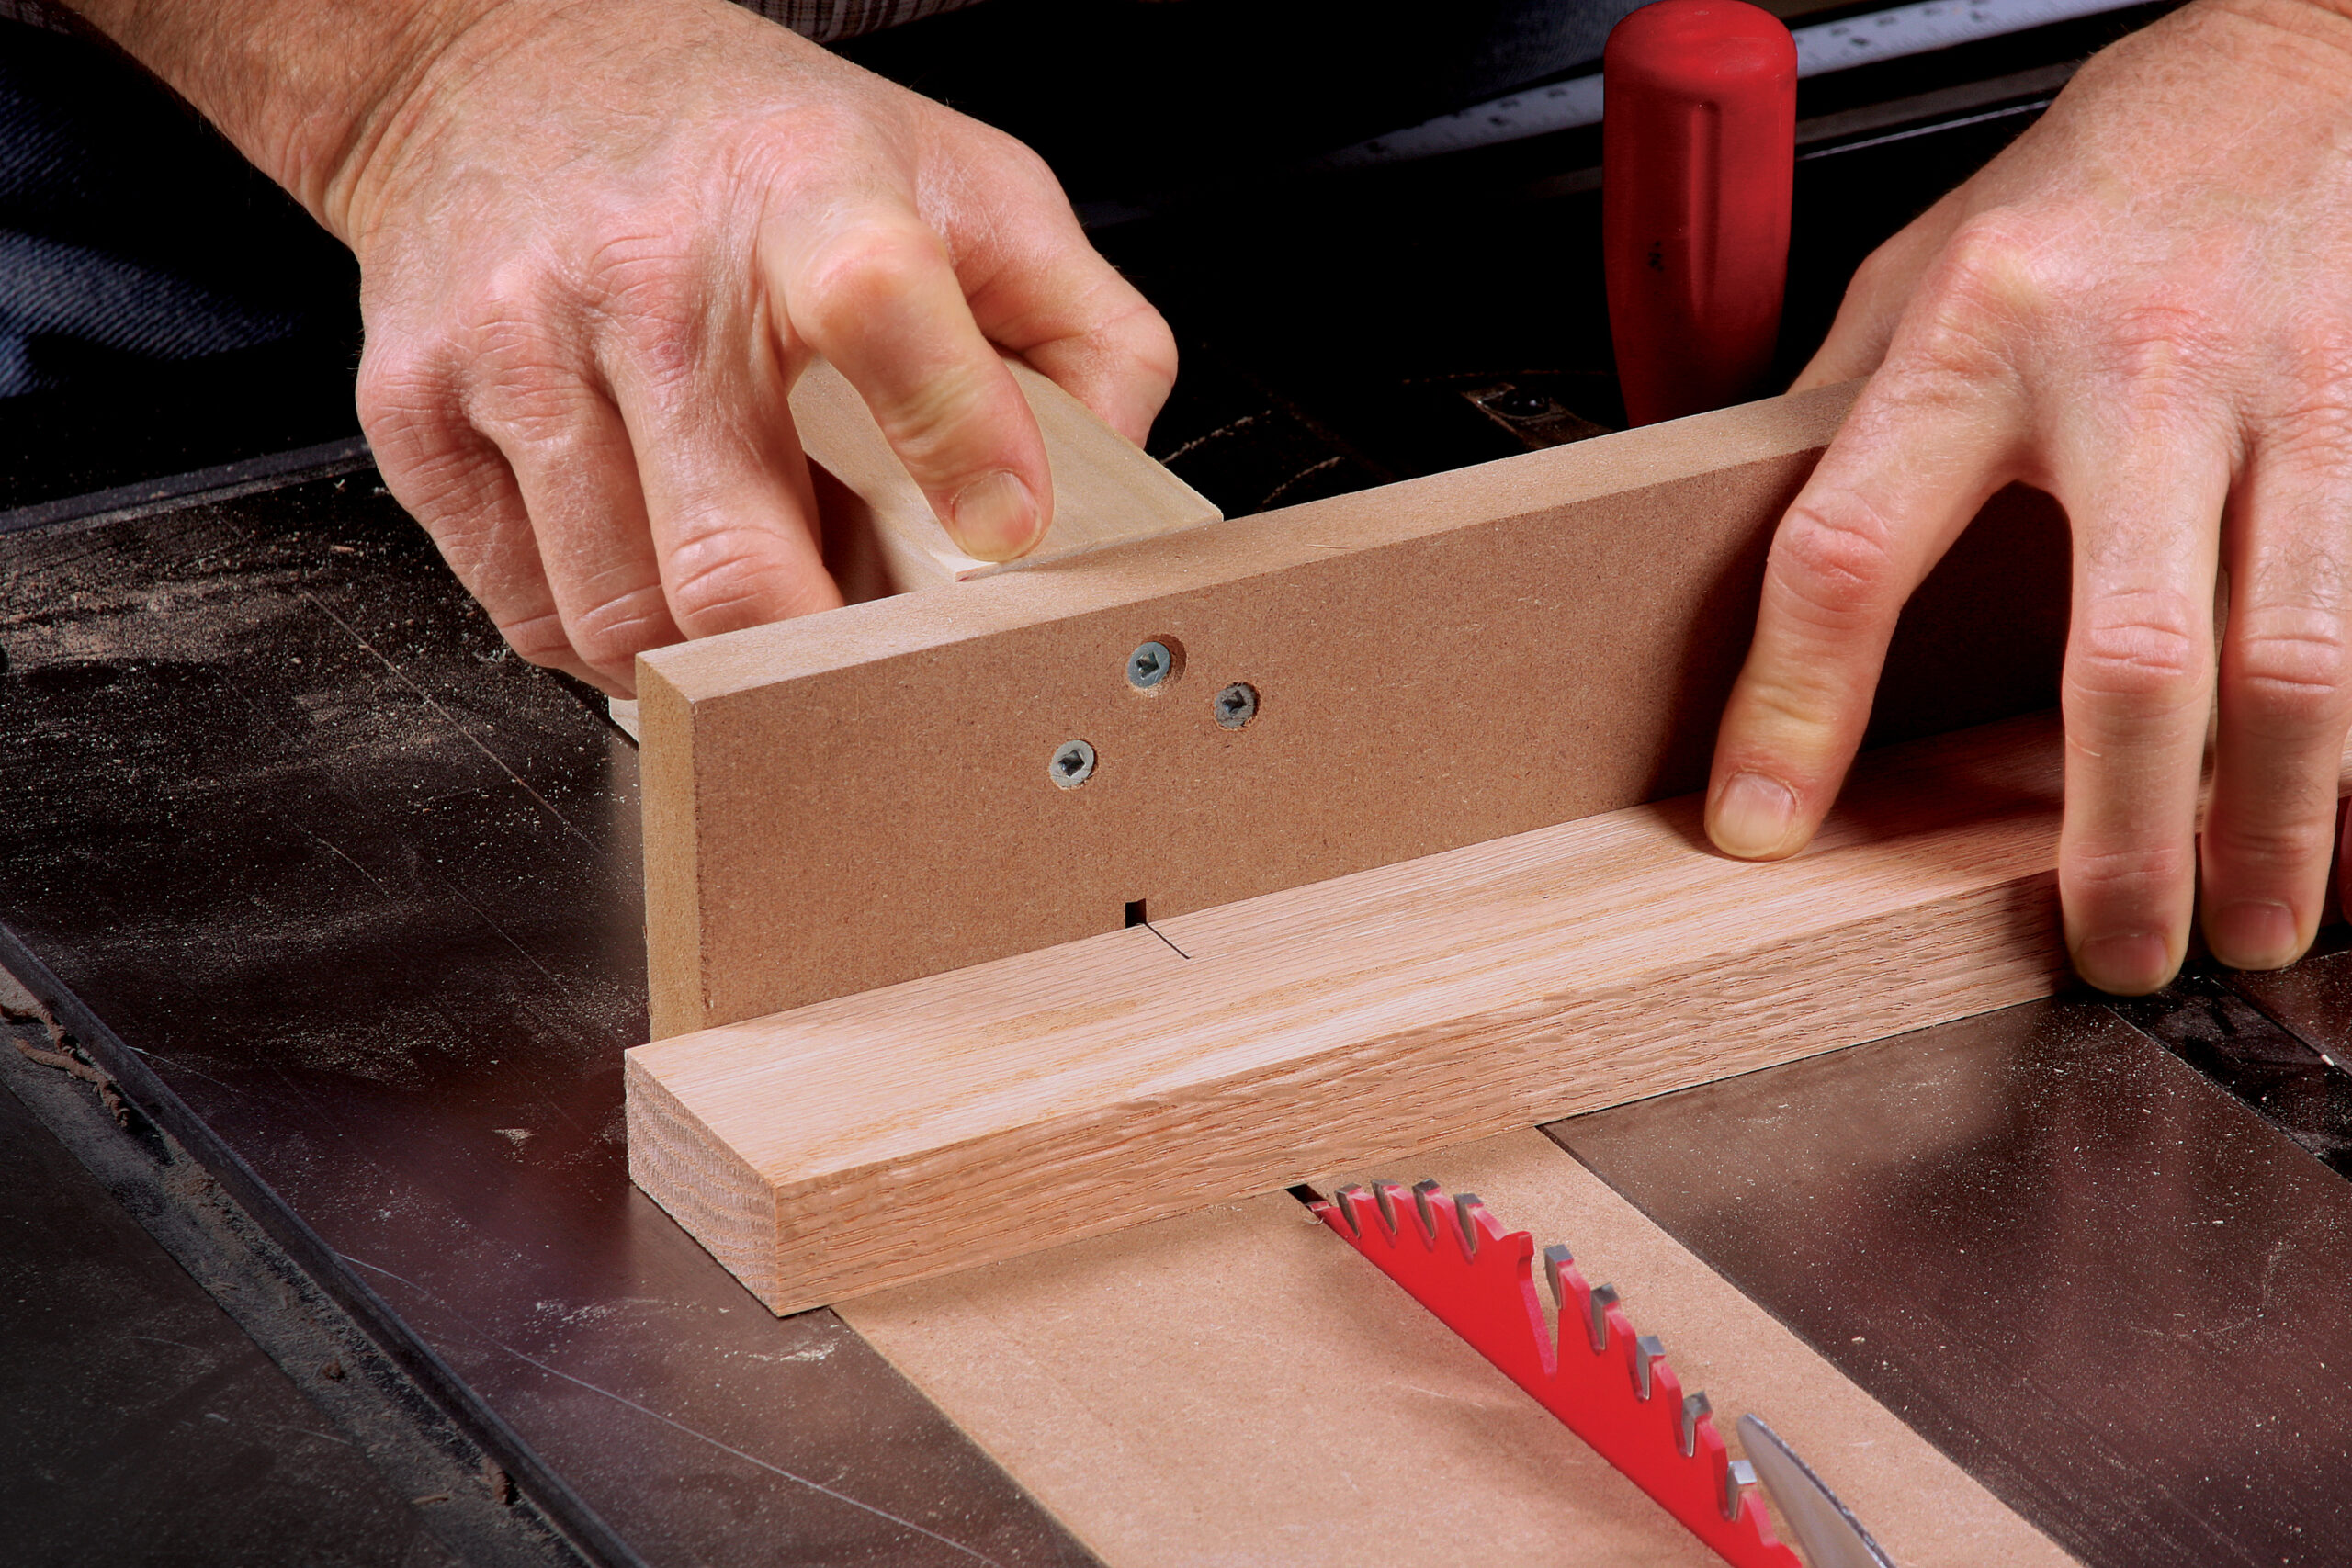
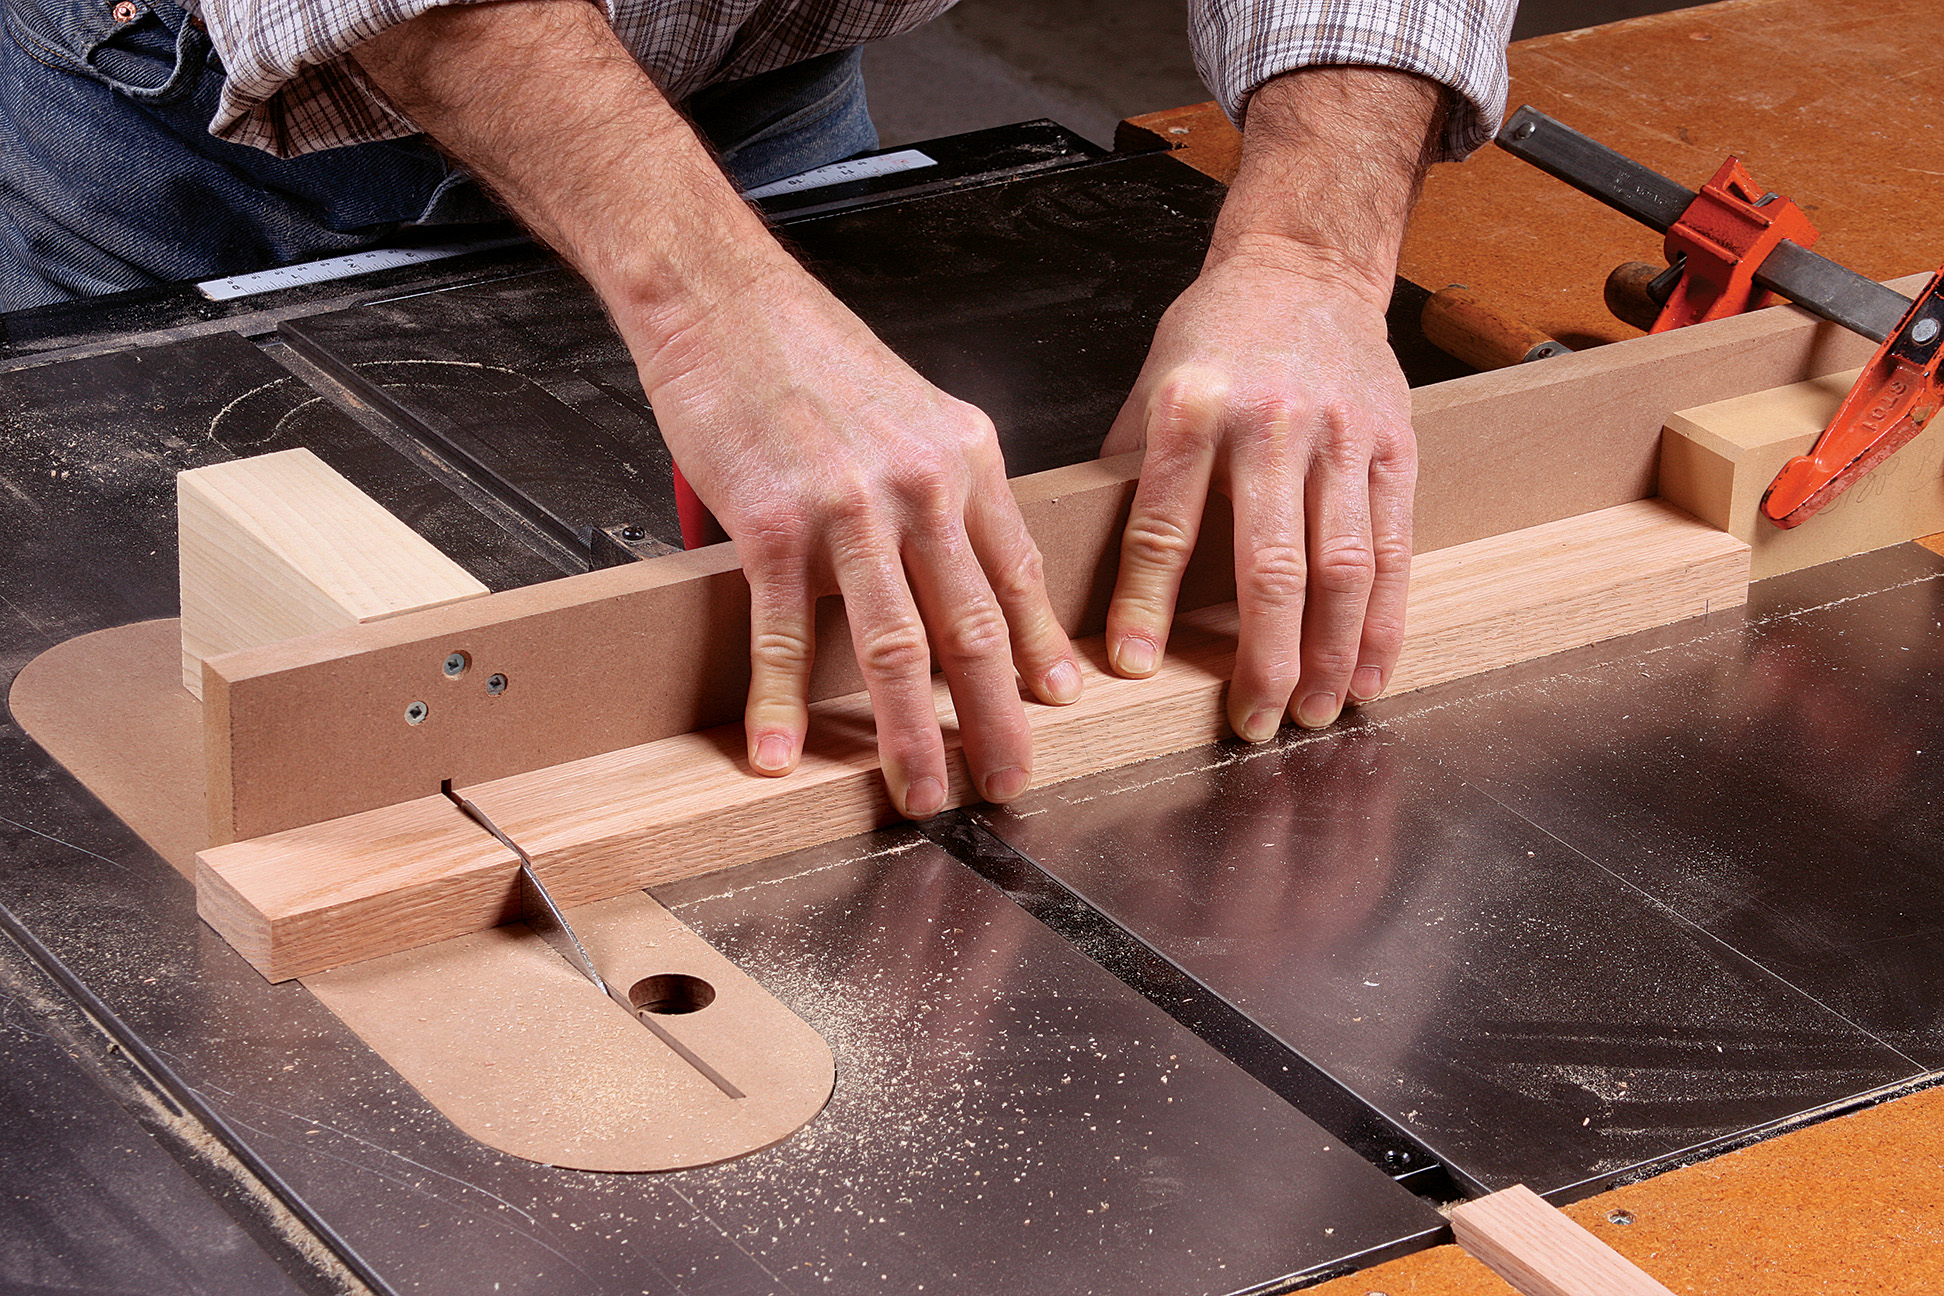
Accurate crosscutting
|
|
|
|
Marc Adams runs one of the largest woodworking schools in North America. Go to MarcAdams.com for more information.
For the full article, download the PDF below:


Comments
One thing I don't see mentioned is when cutting bevels, never cut under the blade. I've been using a table saw almost daily for about 25 years and never read or heard that this is dangerous. Last year I learned about this after I lost the last section of my middle finger on my dominant hand.
I’ve added a picture of how I approached this operation. I used a scrap of plywood to support and fix in position the pieces I wanted to bevel. The plywood runs along the fence and the accident happened on the last piece I had to bevel. I had done this type of cut hundreds of times without incident, so I never thought I was doing anything dangerous. I placed my hand just slightly left of center on the plywood to make sure the item stayed down when I pushed it through. You can see on the second picture the blade caught the plywood and pulled the board and my hand into the blade.
After it was all said and done I posted about my accident on a woodworking forum and had others tell me I should never have used this method. They told me the safe way to do this was to attach a cleat to the bottom of the plywood and don't use the fence. Or I should move my fence to the other side of the blade and cut on top of the blade.
This is very important information that could have prevented my accident. It happened so fast I didn’t even know what happened until I got back from the hospital and saw the damage to the plywood. I’ve included a couple of pictures to show how I thought I was doing this procedure as safely as possible.
I think this info should be included in the article called “Staying Safe on the Tablesaw“. I just became a member, so it wouldn’t have helped me anyway, but it can help others to learn from my mistake.
Log in or create an account to post a comment.
Sign up Log in